The Lightweight Hiking and Camping Gear Guide for Landscape Photographers
Introduction
Here’s what we’ll cover in this guide:
My Experience, The Basics, and Key Considerations
Lightweight Landscape Photography Backpacking Gear List
Camera Gear; What are you willing to compromise on?
The Big Three (tent, sleeping system, & backpack)
Why you should consider a purpose built hiking backpack, not a camera backpack
Electronics, Cooking & Food, Accessories, & Miscellaneous
How to plan your meals & Solutions for carrying your camera while hiking
How to assess your backpack’s weight (weigh. everything.) and the Value:Experience Ratio
Hiking and photographing in the most remote section of Scotland’s Northwest Highlands: The Great Wilderness
My Experience and Why You Should Trust Me
Long distance walking and backpacking has become a bit of an obsession of mine; in the last 12 months, I’ve completed multiple treks, including 75km across the Drakensberg Mountains, 80km along the Hebridean Way in winter, and multiple 50km trips into Scotland’s Great Wilderness (not to mention plenty of shorter overnight trips too). In fact, I’ve been going on long distance walks since I was 15 years old, finishing both the Milford Track in New Zealand and the Annapurna Circuit in Nepal.
All that to say, I’ve got a lot of miles under my belt and have thoroughly tested all the gear I’ll be recommending below. Carrying photo and video gear long distances, up steep gradients, and at high elevations naturally lead me down the path of wanting to reduce my backpack baseweight. A baseweight is your backpack’s weight before consumables, such as food, water, and fuel. There is a whole subculture of “ultralight” backpacking that has lots of great resources and hopefully this guide adds to that lexicon with photographers in mind. It should be said though that I don’t pretend to be and “ultralighter” as I carry much more than the requisite 10lbs base weight due to camera gear. There are a number of unique discoveries I’ve made over the course of my adventures which I’ll share throughout the article.
Lastly, all of the camping gear I use was paid for with my own money, so I’ve got no freebies or bias! Most of the links below are affiliate links which cost nothing extra to you, but do help keep me on the trail with a small commission. Thanks in advance to anyone who uses them.
How to Choose Camera and Hiking Gear for Backpacking and Landscape Photography
There are a few things worth mentioning before we move onto the list itself. Why do I want to carry less weight in the first place? Well it might seem obvious, but, for me it comes down to a few primary factors. Firstly, less weight means I’ll be less physically tired when I reach where ever it is I’m going. This means more energy can be spent on being creative with landscape photography. Secondly, it means I can walk further, more frequently. This is a huge benefit if I need to cover lots of ground or want to maximise a short trip. Lastly, less physical toll on the body means less chance for injury. I’ve had various knee and back injuries from playing rugby growing up and so I do anything I can to help persuade my joints to keep working properly!
Everyone’s needs are different - this list is my set up that I’ve dialed in to suit my preferences through lots of experience. You may be hiking in different seasons and locations, through different terrains, have a different fitness level, have international travel requirements, or are only going camping for 1-3 nights, not thru-hiking for 6+ nights. The only true way to figure out your set up is to test the gear in the field. Head out for 1-2 nights, see what works and what doesn’t, and adjust from there. Additionally, you may encounter some terminology throughout this article (like baseweight and total pack weight which I covered in the introduction). Another example would be “Big 3” as seen in the chart below, which refers to the combination of your backpack, sleep system, and tent. I’ll make my best effort to explain things as we go along for anyone new to backpacking.
Having a target weight for your backpack is often a good way to start. My aim for long treks with no resupplies is a no-compromises/comfort set up that includes a tall tripod and video gear at a 25lbs baseweight. I don’t want to compromise my ability to make photographs. Under 20lbs is certainly achievable for those not doing video content, and even further reductions are possible with some compromises (I’ll touch on these options in the list itself).
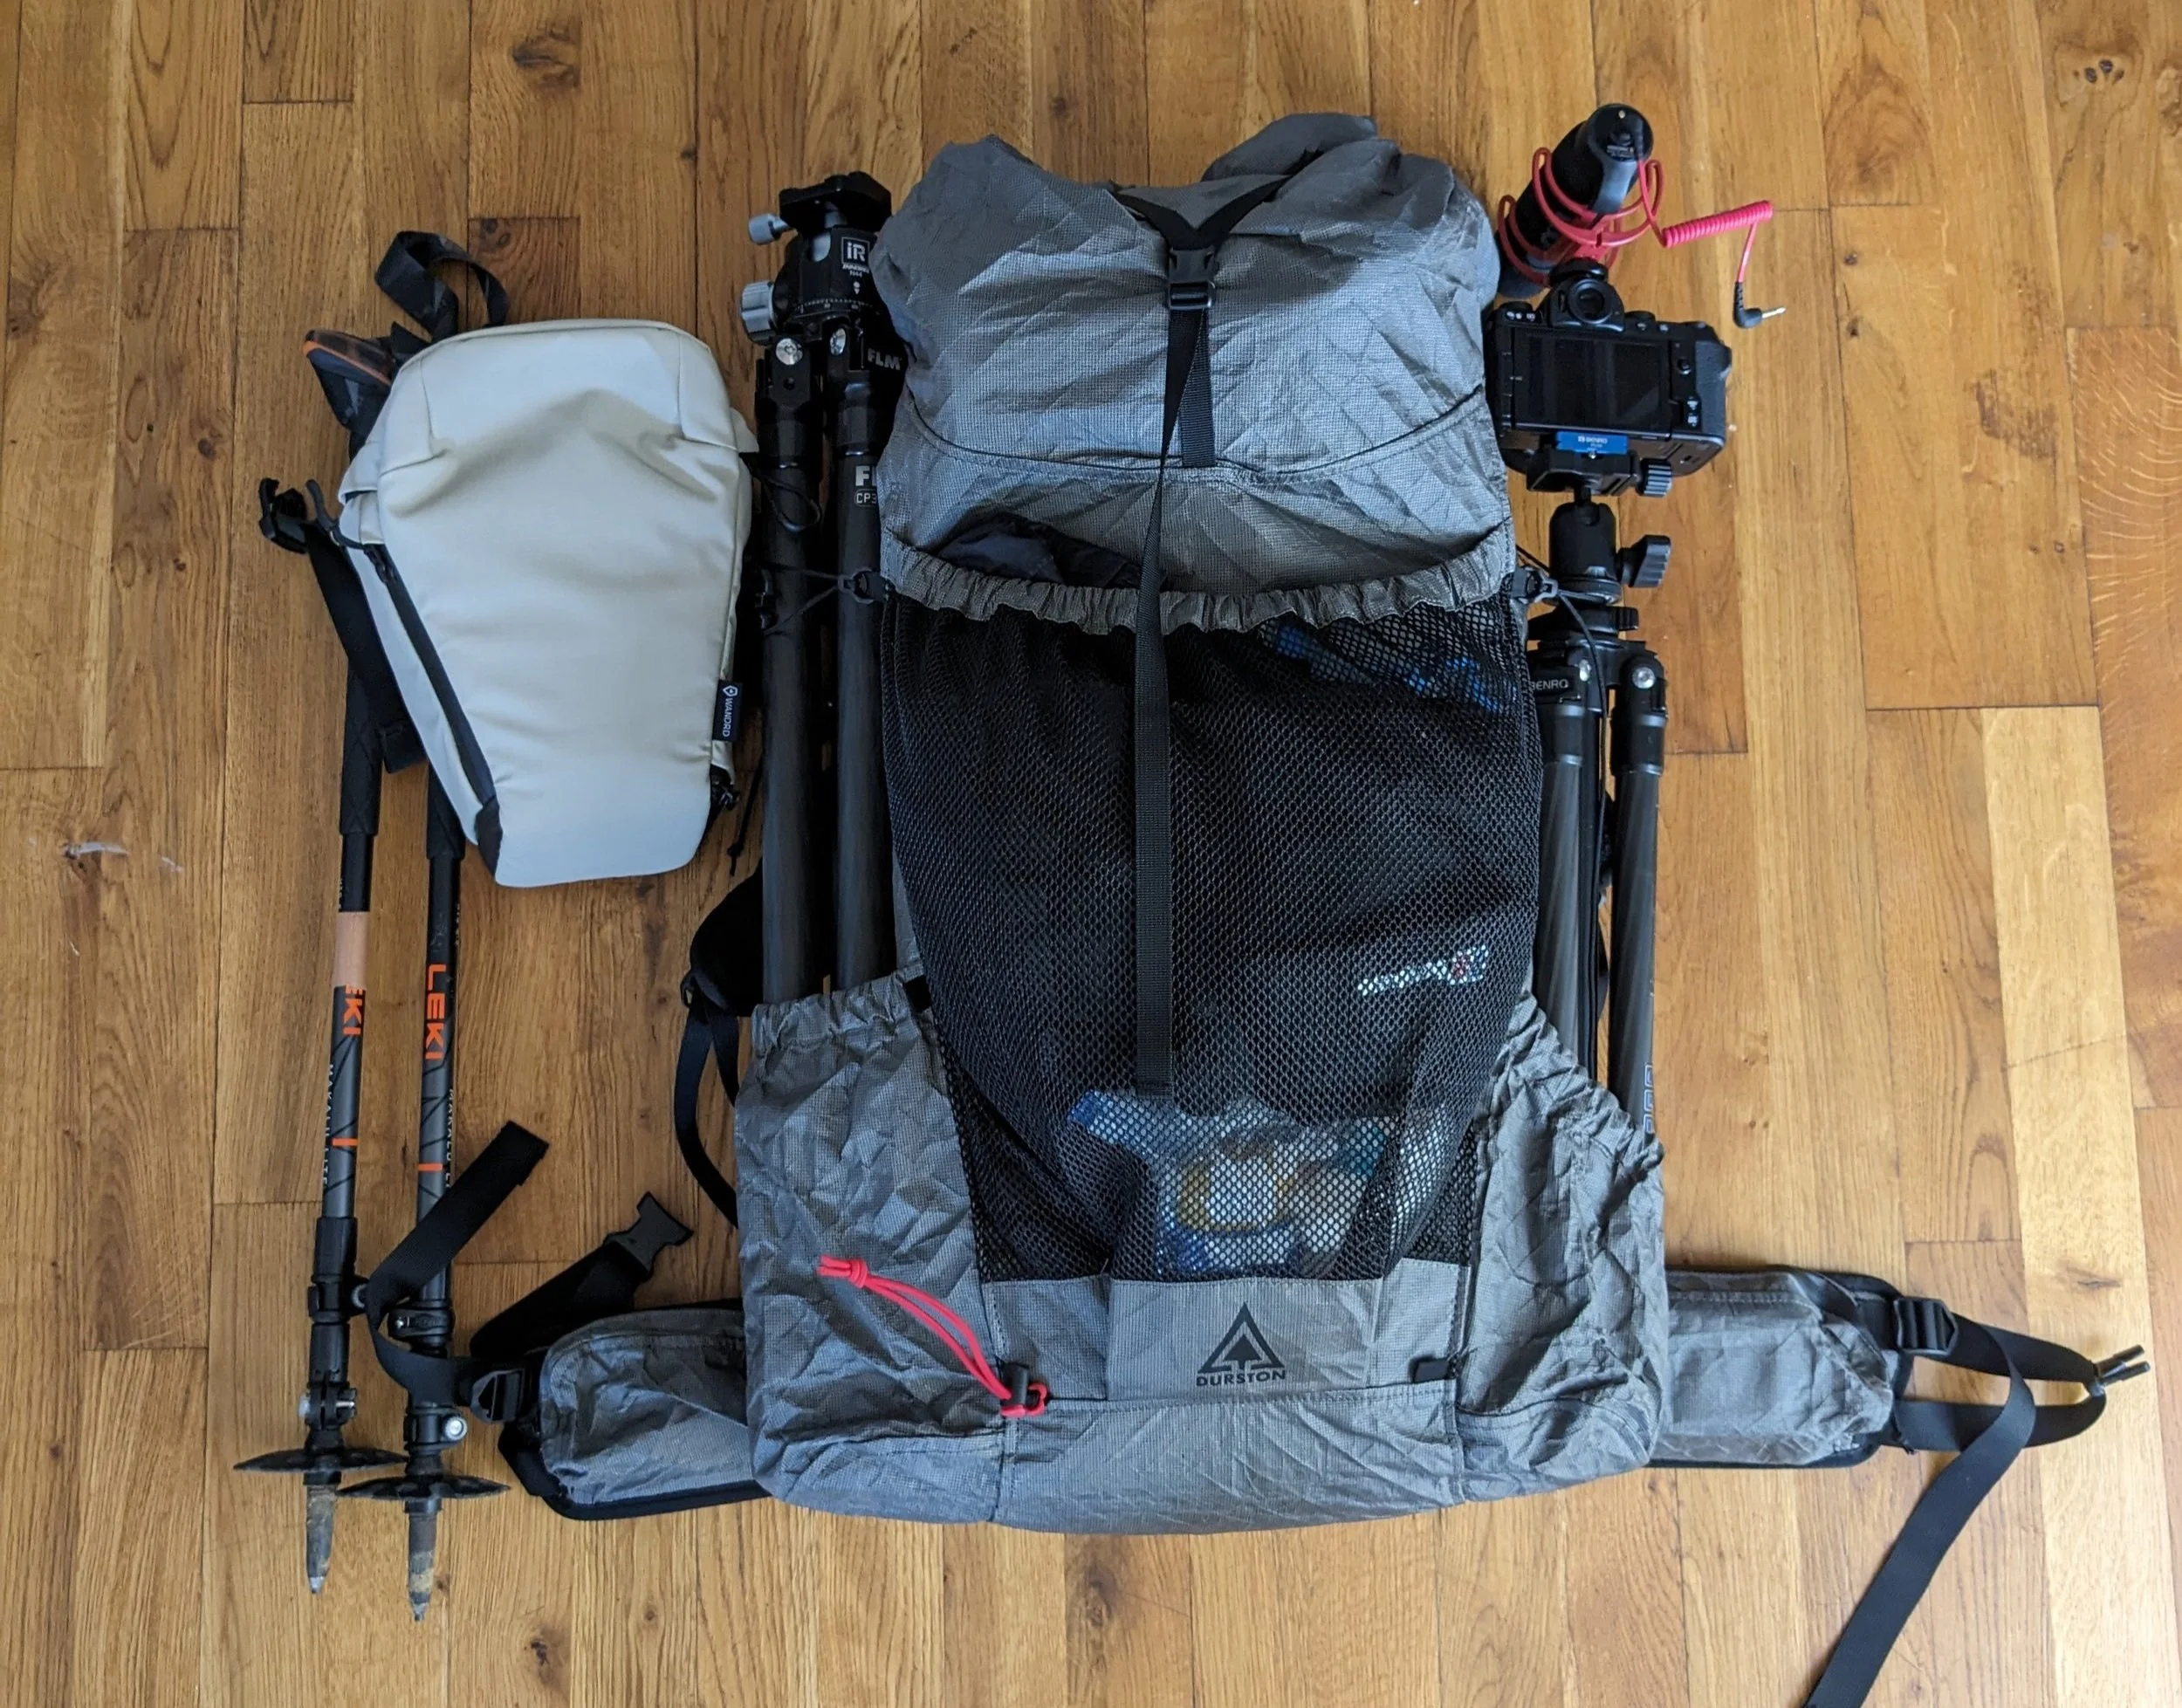
Nearly everything I took for 6 days of hiking on the Hebridean Way, Scotland
Example Baseweight Pie Chart: 6 Days through the Drakensberg Mountains, Group w/ Porters, Autumn/Spring. (12.15kg = 26.8lbs)
I decided to bring a drone on this hike which bumped up my baseweight over the 11.3kg/25lb mark.
Key Considerations
Where are you going? What focal lengths might be required (what is your style of photography)?
Location is one of the first things I look at. Am I going into mountainous terrain at high altitude or walking along the coast at sea level? These will determine things like what subject matter you might encounter and therefore what lenses are appropriate. I love using a telephoto lens up in the mountains, and have recently been enjoying a wider angle on the coast to emphasise open spaces. The climate, season, weather, and altitude of your location might also play a role in gear requirements - for instance, high winds in the mountains will lead to wind chill which means you might need an extra layer of warmth or a stronger tent.
How far are you walking and how much altitude are you gaining?
Are you doing 30km in two days or 100km in four days? These considerations are important in determining how much food to bring and ultimately how big a pack you will need. Pack size is best left until last when you know or have all your gear, that way you can buy the correct volume. Realistically most of us can’t afford to have multiple packs of different sizes, so its best to purchase for your biggest adventures. If you know you have to gain a lot of altitude on your walk, you might be even more stringent on weight and leave some comfort items at home.
What season is it? Is there water available?
A winter camping gear list will be dramatically different to a summer camping gear list. Not only will temperatures be different, but access to water, cook systems, tent requirements, and weather will all impact what and how you pack your bag. For the purposes of this list, I’m primarily discussing “3 season” hiking and camping (temperatures down to 0C or so, maybe slightly below), not true winter camping.
Comfort, weight, and bulk; it often comes at a cost.
Ultralight gear will often not only be lighter, but significantly less bulky. There are knock-on effects to this. Less bulk means you can potentially use a smaller backpack, which in turns lowers your baseweight. There are inevitably compromises too. Ultralight gear can be less durable, is usually much more expensive (because they use fancy tech and new-age fabrics like Dyneema or Ultra), and sometimes can even be inappropriate for certain harsh environments like alpine terrain with high winds. Ultimately it will come down to what you think is enough weight savings or functionality to justify the cost. It’s often quite cheap or even free to reduce your initial base weight, but those massive gains are subject to diminishing returns. The more base weight you want to drop, often the more it will cost. Hopefully through the options listed below you will be able to determine the appropriate gear for your needs, environment, & budget.
Okay, to the list!
Lightweight Landscape Photography Backpacking Gear List
Backpacking and Camping Gear Recommendations
Updated November 2024. I’ll try to keep this list up to date with any new finds or new products that come out!
Durston Kakwa 55 (920g): So, why a hiking backpack and not a custom designed camera bag like a Shimoda or F-stop? Well, these bags are bulky and heavy (a Shimoda will likely come in at almost 2kg) and don’t carry heavy weight as well. This is because they add access points to the back of the bag which compromises the bag’s stiffness and have a whole host of unnecessary features. The Kakwa on the other hand weighs less than a kilo, is ridiculously comfortable, and is a beast at load hauling. It is made from Ultra, a high-tech super strong and waterproof fabric. Even with this, thankfully, the bag is reasonably priced competing and often coming in cheaper than the likes of more traditional bags from Shimoda, F-Stop, or Osprey. There are plenty of other ultralight backpack options (Hyperlite, AtomPacks, LiteAF) but the Kakwa stands out for its ability to comfortably carry heavy loads (45lbs+) due mostly to its rigid frame structure and efficient hip belt design. This is especially important on long unsupported hikes where consumables like food and water often push even the most ultralight set up well into the 30-40lbs total pack weight range. BackpackingLight did a great deep dive on the Kakwa 40 (the smaller variant) which gets into some pretty deep testing all to show that the Kakwa doesn’t deform as much under load; the result is proper weight transfer to your hips and less weight on your shoulders for a more comfy carry. My experience corroborates these findings. Not only this, but all the small details of the Kakwa make it a fantastic bag, from the side pouches, hidden zipper compartment (I use to store trash on the trail), mesh front pouch, and roll top. The actual internal volume of the large that I purchased was 58L, and that’s before you’ve added the external storage. Plenty big enough for most things if you follow the recommendations in this blog. Without a dedicated camera unit that leaves one question - where do we put our camera gear?
WANDRD Route Chest Pack (295g): This is my preferred camera carry solution for a number of reasons. Firstly, it is a sturdy spacious case that allows instant access to your camera as you carry it on your shoulder/chest straps. It has enough room for my Canon R5, RF24-105, filter kit (below), plus other accessories like lens wipes and a battery or two. I originally had it in their khaki but have changed to the black colour so that it doesn’t get as dirty if it gets scuffed up on trail. While it is slightly more heavy than competing options like the Hyperlite Mountain Gear Camera Pod (~100g), the Route pack provides significantly more protection and space. I have love having my camera at the ready and find the little bit of weight in front of me actually helps a bit with balancing the load of a heavy backpack (its about 2kg less behind you when you include the camera and lens).
Osprey Ultralight 70L Pack Liner (139g): Essentially a huge dry bag for everything you want to keep out of the elements. This goes in your bag first, then I load all my gear in (electronics get double bagged into another dry bag), then it gets closed up. Anything that’s wet like your tent outer should be kept outside of this bag - I rigged up an extra bit of cord to the outside of my bag for drying items like a towel or socks. We don’t get the popular US option of nylofume liners in the UK, so this was the next best thing (that’s hopefully a bit better for the environment because it’s multi-use). I prefer these to a traditional bag cover because, well, they actually work! Bag covers leave plenty of zips and seams open to the elements and water will get in. The Kakwa backpack’s material is also essentially waterproof on its own (except the seams), so a liner just makes more sense. I’ve never had wet gear using this system.
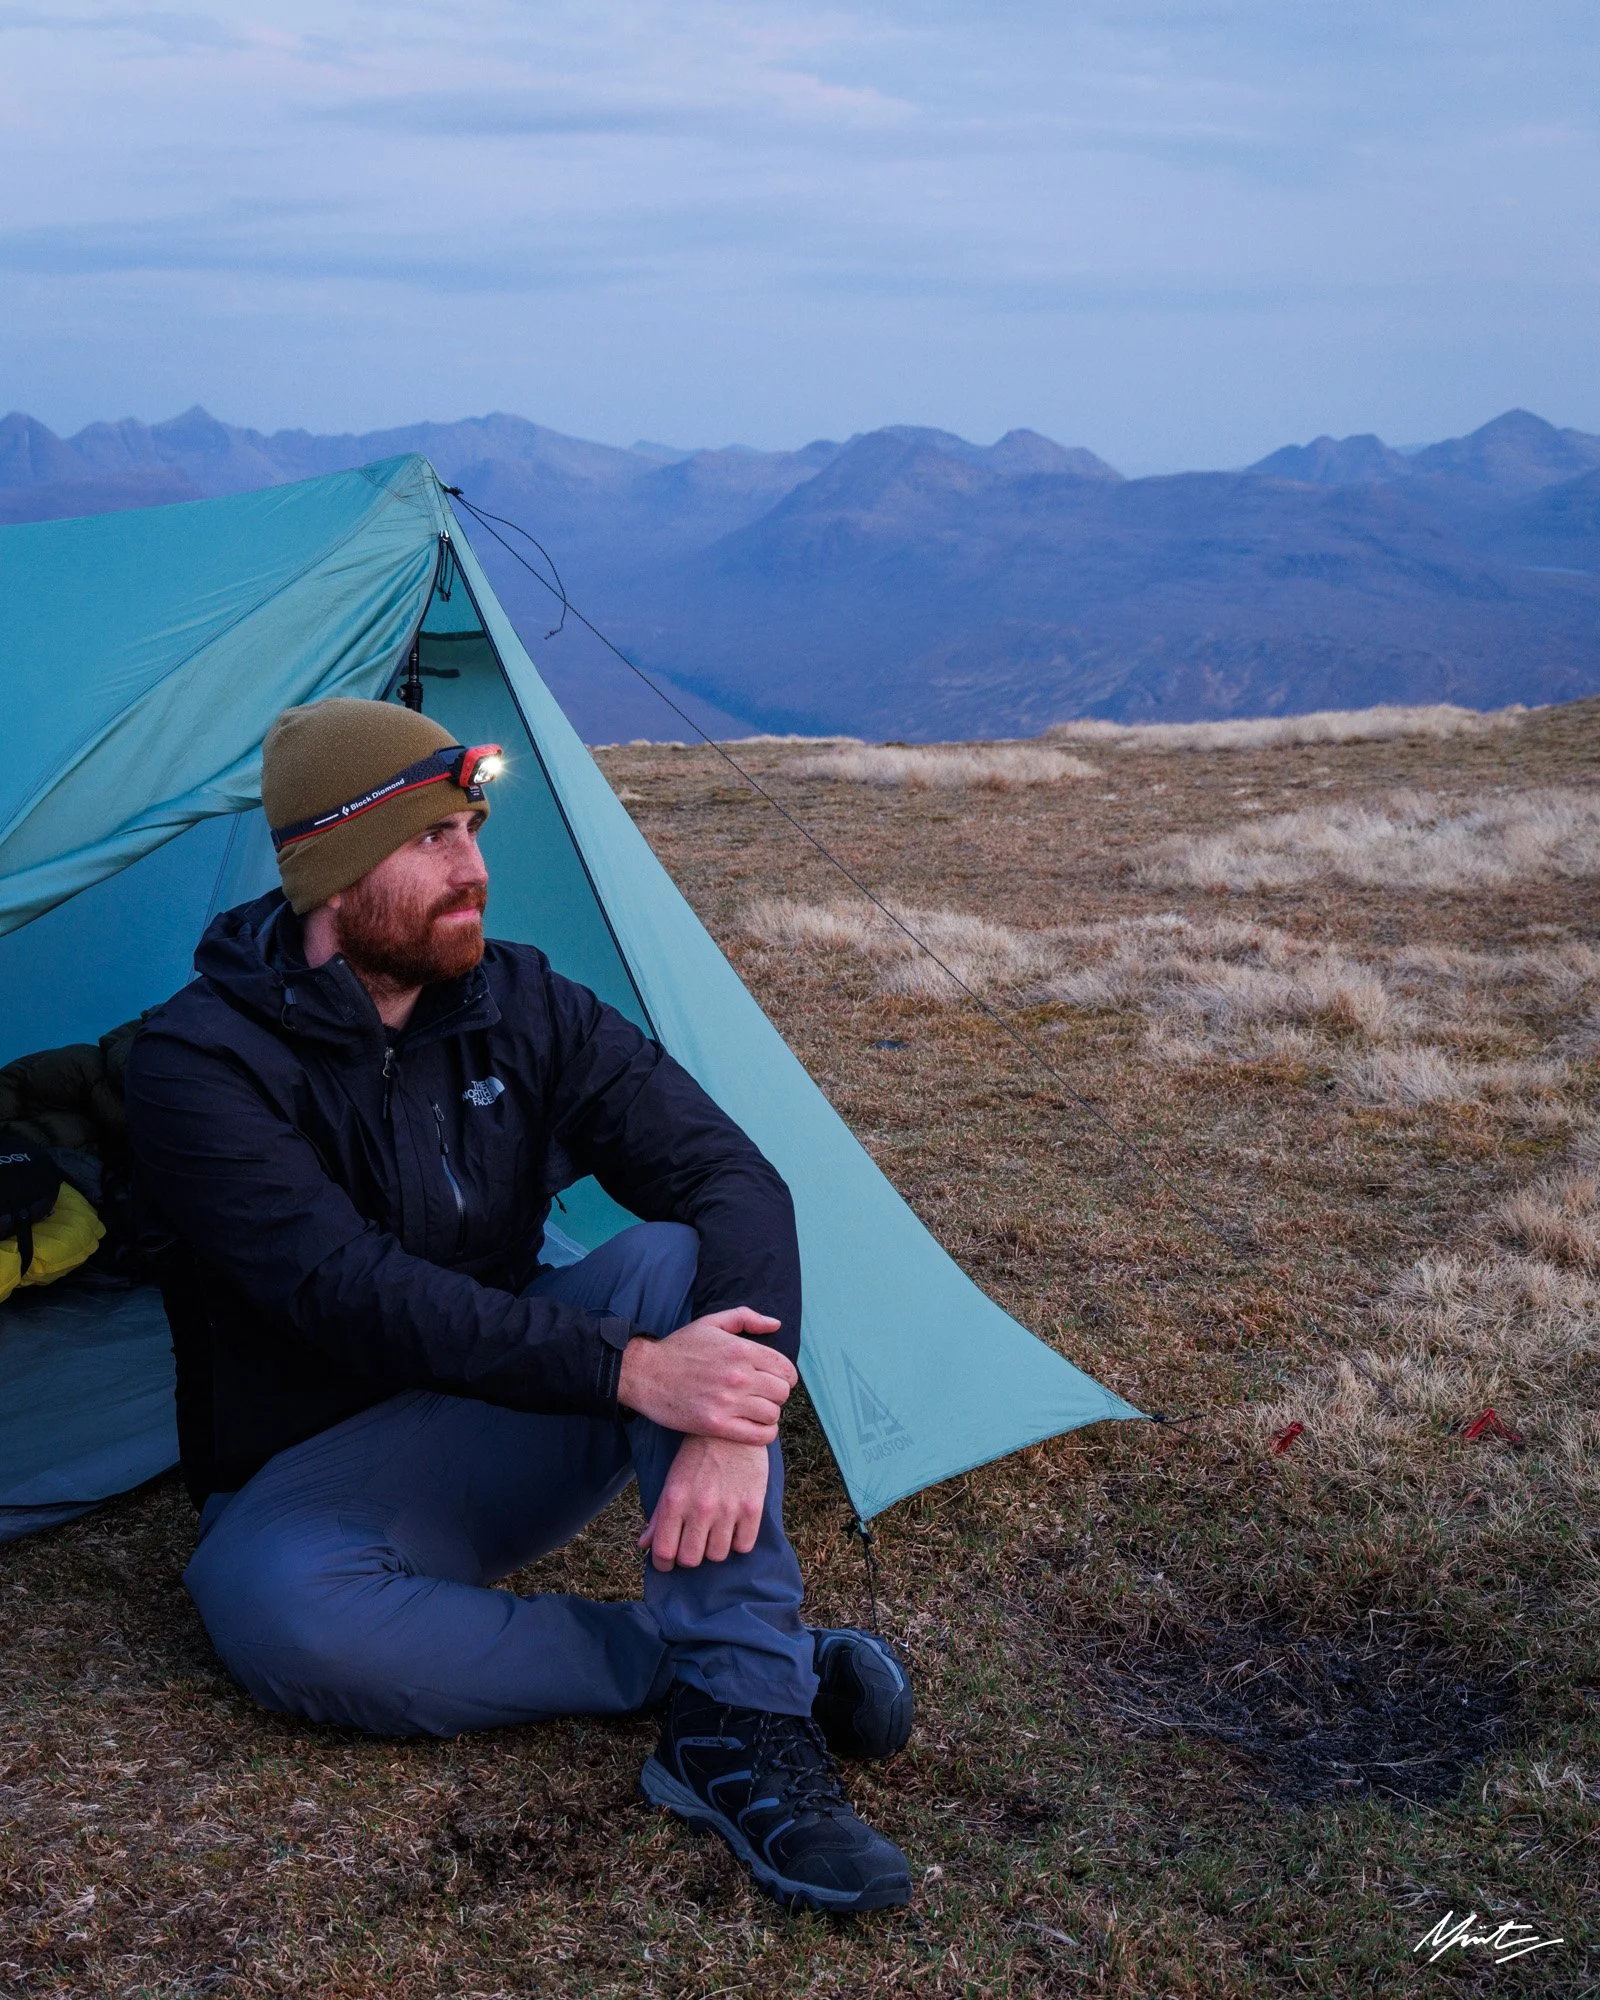
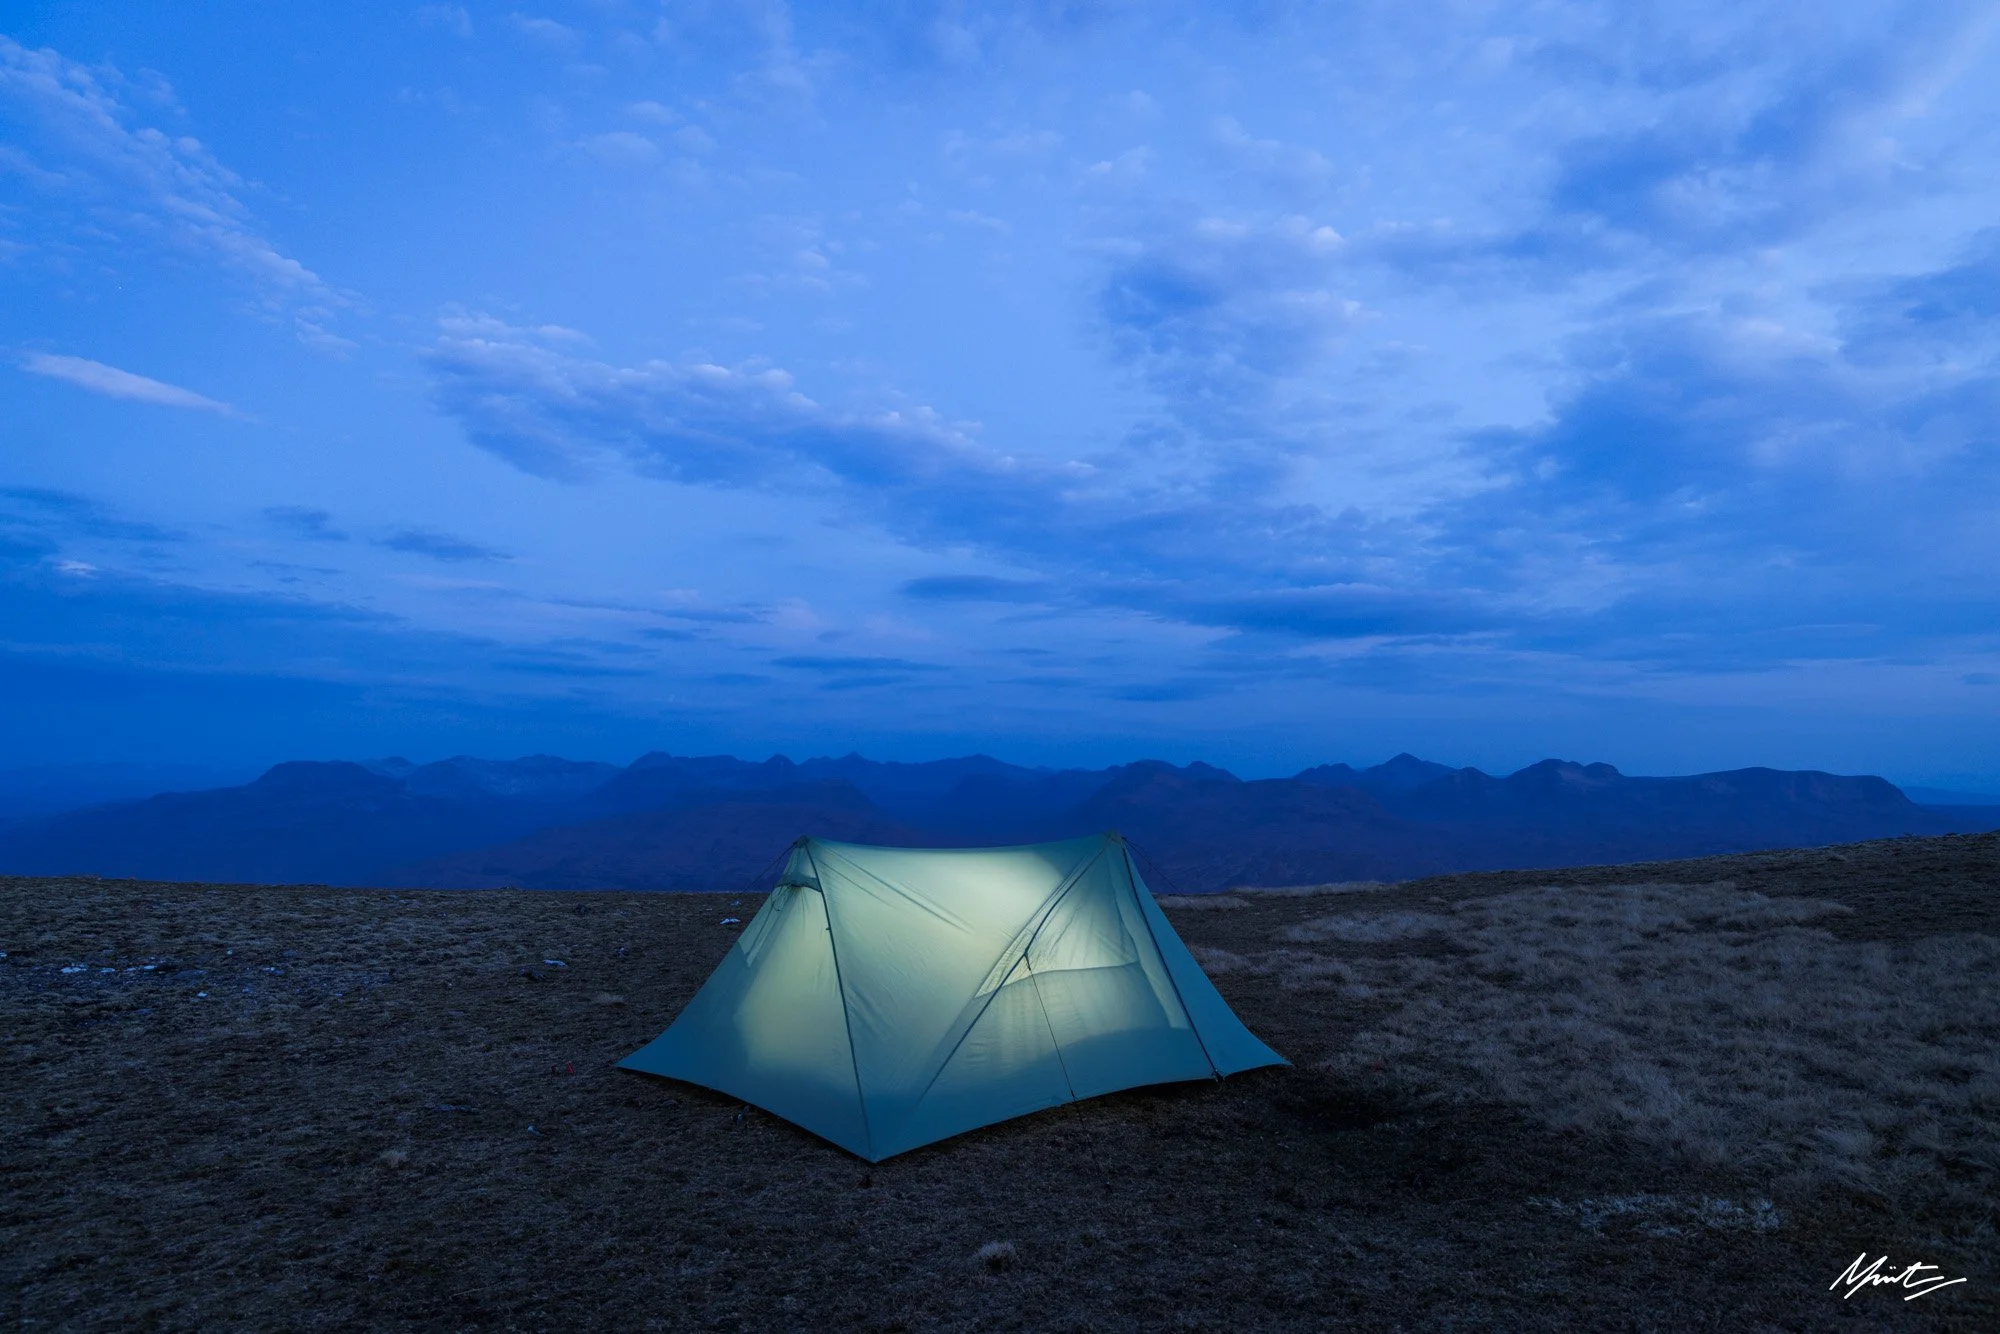
Durston XMid-2 Solid Trekking Pole Tent (1055g): The Durston XMid series probably has the best space:weight ratio of any tent on the market. Coming from a tiny MSR Carbon Reflex 1 (~660g), the XMid-2 feels positively palatial. It is a trekking pole tent which drastically reduces the tent’s weight by no longer need to carry additional tent poles - and it makes your trekking poles a multi-use item. I went with the standard sil-poly version instead of the even lighter weight but more expensive Dyneema version because I actually wanted a tent that had some amount of weight to it; my experience is that tents under 1kg struggle in even light winds. Additionally, I prefer a dual-wall tent. This means the tent has an inner and an outer. For a very wet climate like Scotland, this makes more sense as you don’t have to worry about touching a damp or water-condensed outer fly and getting all your gear wet. Additionally, this tent pitches outer-first, which means you can put the shell up first, then get inside and keep all your gear out of the rain while putting up the inner. It can also be pitched “all-in-one” where the inner and outer are already attached. All this to say, I’ve absolutely loved the extra space, the super easy pitching, and the small pack size. I have also used the tent in some pretty high winds in the Drakensberg Mountains and it barely batted an eye (just make sure you learn how to pitch it properly for different conditions!). While I primarily use it solo, the tent also has plenty of space for two people. My top alternative pick for a tent would be the Tarptent Scarp 1 which comes recommended by lots of friends (or possibly their brand new freestanding ArcDome but it’s pricey). Many of the more budget friendly options with reasonable stormworthiness weigh in around 2kg and so aren’t applicable to this lightweight list (Wild Country Helm 1 for example).
MSR Ground Hog Tent Stakes (6x, + 4 Durston = 135g): These tent stakes are absolutely bomb proof. The full size version I recommend (they are also made as “mini”) make a huge difference any time you need to pitch your tent on sandy soils or into really hard ground. They are a small item that often goes overlooked but worth every penny. I carry 6 of these as my main tent stakes and then 4 of the standard Durston V stakes for additional guy out points. Easton 9” pegs are also a great option.
Leki Makalu Lite Trekking Poles (472g): Trekking poles are often seen as an old man’s accessory for hiking, but let me tell you they make a huge difference! I can hike further and longer with poles than without and they save my knees on steep descents (not to mention they are needed to pitch the tent!). I’ve been through a few pairs of cheaper trekking poles and finally decided to go for a premium option. I’m so happy with these from Leki. They balance weight and price, have flip locks which I prefer to twist on a trekking pole, and are super strong. Don’t bother with upgrading to shock absorber versions as in my opinion it’s just another point of failure that you’re paying extra for.
Hammock Gear Economy Burrow Quilt 20F/-6C (768g): One of the most important items in your pack. I find a 20F/-6C option super warm for 3 season use in the UK and South Africa, but its important to know that there is definitely variation from brand to brand and person to person (I’m a warm sleeper). Make sure to look out for EN specified comfort ratings, not limit! I switched from using sleeping bags to a quilt for a few reasons. Primarily was to cut down on weight (quilts can easily save 300g compared to an equivalent sleeping bag), but I’m also a side sleeper and occasionally roll around in my sleep - both things that are much easier to do in a quilt that stays where it is while you move. A few things to note: it’s imperative to get the wide version to prevent drafts and it’s super important to pair this with a quality high r-value sleeping pad, as it’s the combination of these two items that’ll keep you warm (same goes for a sleeping bag in fact). This option from Hammock Gear provides a good budget entry point for a high quality product, but there are great options from other manufacturers like Cumulus, Thermarest, or Enlightened Equipment (Revelation/Enigma) to name a few. European readers check out Khibu, Liteway, or Rockfront!
Thermarest Xlite Regular Sleeping Pad (420g): For people who care about every gram, the Thermarest NeoAir XLite (now NXT) is “Mr. Reliable” when it comes to sleeping pads. There’s not much competition that provides the weight:warmth ratio (R-value: 4.5) on offer here. I’ve got the regular version but wish I had opted for a wide model for a bit of extra comfort as that is probably this pad’s weak point. If you’re willing to carry a bit of extra weight at 563g, the new Nemo Tensor All-Season wide is probably the way to go if you want a more comfortable pad. A budget alternative that looks fantastic is the Light Tour R7.5 20D coming in at 650g (but a huge bump in warmth and comfort!). I would buy one of these two options if I was buying a new pad today.
Trekology Inflatable Pillow (105g): At 4” tall, this cheap and cheerful camping pillow provides the height and comfort needed for a good night’s sleep without a crook neck. ‘Nuff said.
RAB Ascent silk sleeping bag liner (110g): There are two main benefits to using a silk sleeping bag liner: 1) add a few degrees of warmth to your sleep system, and 2) after a full day of hiking (or after multiple days in a row), it’s nice to have a sheet between you and your sleeping bag/quilt to keep it clean. Sleeping in silk also feels like a bit of a luxury out in the back country!
Soto Windmaster w/ piezo + Triflex (78g): I went back and forth for a while on whether to go with the tried and tested ultralight option (BRS 3000T) or get something a little bit more robust. In the end, the windy environments that I visit dictated my choice and I’m so happy with the final set up. This stove top performs just about the best of any stove in the wind, meaning faster boiling water that uses less fuel, especially when paired with my cooking pot of choice. The separate Triflex attachment saves a few grams and lets you slot the stove right into the heat exchanger fins on the Jetboil stash pot pictured below, but it is a bit finicky. The standard 4 arm mount is easier to use quite honestly. I now use the much cheaper Firemaple Petrel HX pot instead of the stash (see below).
Heat Exchanger Pots, Jetboil Stash + DIY aluminium foil lid (136g): The Jetboil stash pot is one of, if not the, lightest weight heat exchanger pots on the market. These boil water faster and more efficiently and I prefer them over a standard titanium pot. If you we’re serious about every gram, the Stash is the lightest HX option (I don’t use it anymore, discussed below). It’s a perfect volume for solo or two person hikes and performs like a dream paired with the Windmaster stove. I use a square of folded aluminium foil as a DIY ultralight lid. Unfortunately, the pot is only sold as a set with the under-performing jetboil stove, so it is a rather expensive option by the time you’ve also bought a SOTO Windmaster. However, a budget brand caught wind of this HX trend in the ultralight community and introduced the much cheaper FireMaple Petrel HX (162g for the pot and only £20, just 26g heavier than the Stash). I now use this cheaper but ever so slightly heavier option instead of the Jetboil! The cutouts in the base make it a much easier and more stable platform to pair with the Triflex I mentioned above. I also prefer the proportions as it means my entire cook system with a small gas canister fits inside the pot where the Stash’s wider profile was a bit awkward in my opinion.
Food: I followed some guidance/logic from GearSkeptic over on YouTube when it came to designing my food intake for long treks. Basically, look for items with the highest calorie density that you also enjoy eating and will provide you with good nutrition. My preferences have been to make homemade coconut and seed muesli for breakfasts, various snack bars, shortbreads, dark chocolates, and sweets for lunches/throughout the day, and FirePot meals (120g / meal) for dinners. They are probably the best tasting rehydrated meals I’ve found, and for good reason: they only use natural ingredients. Thankfully they are also compact and lightweight, but they do come at a hefty price. Buy in bulk or wait for discounts for the best deals. Tailwind Nutrition’s recovery mix and endurance fuel have been awesome additions to the food lineup. All in, I can get my food @ 2200cal/day for 5 days down to about 1.6kg. This is obviously going to be well below maintenance if you are hiking long distances, but will be plenty to keep you going for days on end.
Camping in the fog, Sentinel Peak, Drakensberg Mountains
Camping Accessories/Miscelaneous
I always use a long handled titanium spoon (18g) with a polished scoop. It might seem unnecessary but I do also bring a Lifeventure Silicon Collapsable Mug (64g). Being able to sip your coffee and eat breakfast together is not only a nicer experience, but also saves a big chunk of time every morning because you’re not waiting to reboil water in your only pot.
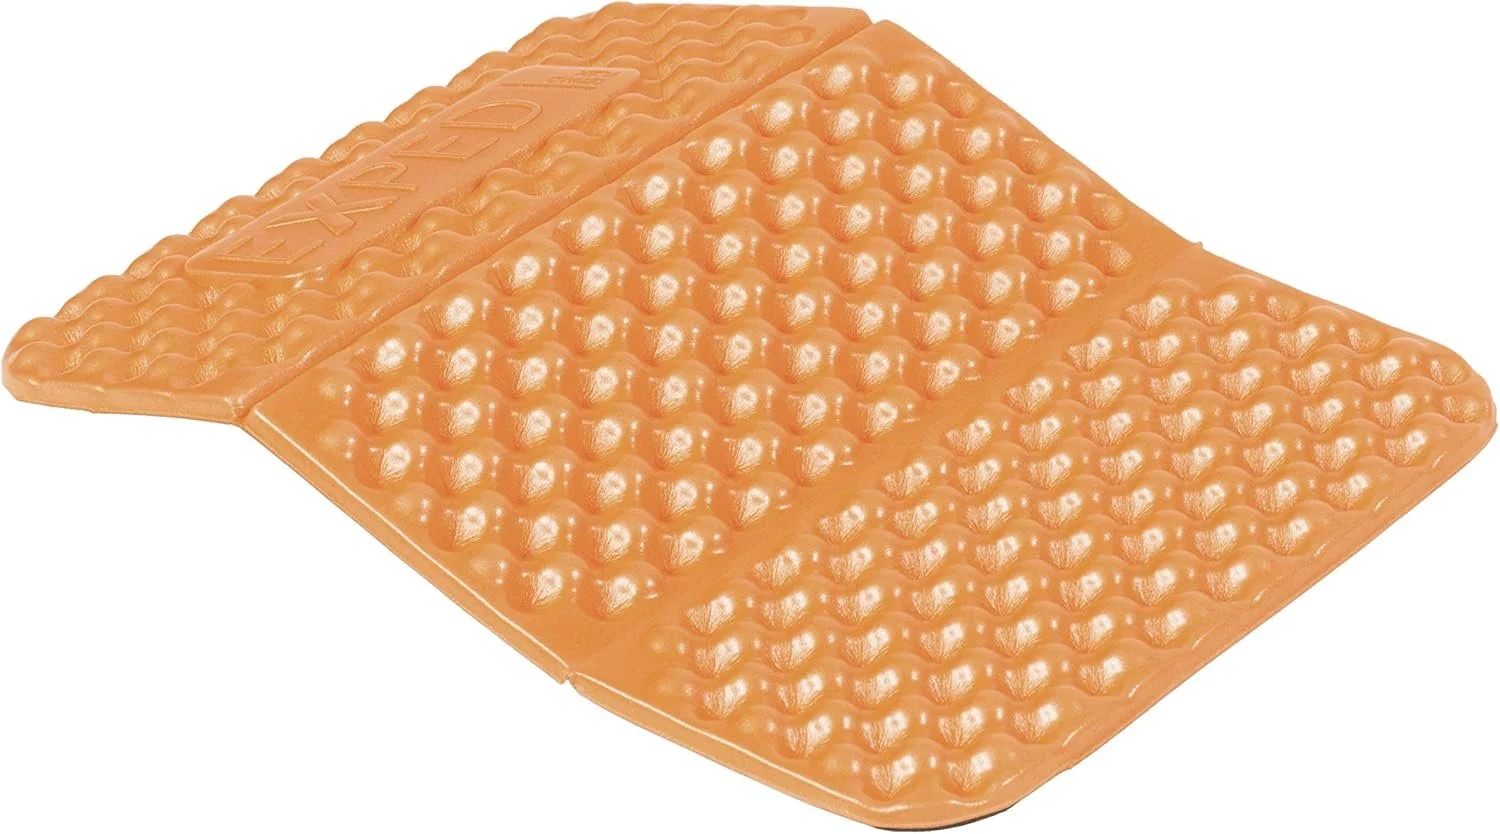
Exped Sitpad Flex (39g): Scotland is often wet and boggy so finding a spot to sit down without getting a wet bottom can be near impossible. A simple lightweight solution is this super small foam pad. Works great in a tent vestibule too.
DIY First Aid Kit + Extras (139g): Easily the most used item in my FA kit is Leukotape (make sure its the real stuff) for preventing or patching over blisters. Everything else is sort of up to you. I carry some pain meds, basic gauze/alcohol swabs/FA kit, blister plasters (Compeed), some spare tent guy line, and a lighter. If you don’t know how to use it, it’s probably not going to be much help, so either learn or leave it behind. Bonus tip: Instead of taking the entire roll, if you put strips of Leukotape onto the backing paper for sticky labels (like what you get out of a label maker), they will stay sticky and you can just take what you need for a trip.
Katadyn Be Free .6L (61g): My water filter of choice. Insanely light, small, fast, and doesn’t clog (provided you take care of it and don’t let it freeze).
Waterproof phone case (44g): Just a simple plastic touch screen case off of Amazon. Closes up with a sliding top seal just like a water bladder. Does the trick and you can hang it around your neck in case you need access to your phone for navigation or to take pictures/video in poor weather.
BoglerCo Trowel (12g): Ultra lightweight for digging holes when you need to take a Wilder-Poo. Always follow local guidance on how to deal with waste properly and follow your outdoor access codes. I like this trowel because it has a serrated edge for cutting through roots and a small plastic end cap which means the metal edge doesn’t drive into your hand when you are digging a hole in harder ground.
Silva Compass (23g): Just your run of the mill standard issue compass, but something I believe everyone should know how to use! It’s good practice to also bring a hardcopy map.
SeatoSummit Airlite Towel (large, 76g): Not my favourite towel for absorption, but its ridiculously compact and light weight for the size. The thin material squeezes out really easily and dries fast in the sun/wind.
2x 0.8L Smart Water Bottles (34g): These fit snugly in the smaller angled side pocket of the Kakwa backpack perfectly, with just enough room to be able to easily get them in and out without taking the bag off. Strong and lightweight, I pick up a pair maybe twice a year and use them over and over again. I also prefer the weight distribution with these water bottles versus a water bladder as they nicely offset against my tripod (which goes in the other side pocket). I always found a bladder awkward to position properly and it would often lead to an imbalanced bag in my experience.
Toiletries (177g): Just bring the basics. Toothbrush (I use a bamboo one), my preferred toothpaste tabs, ear plugs, bio-degradable toilet paper/tissues, and hand sanitiser. I put these all in a ziplock bag and keep them in the outside mesh compartment for easy access. For the women reading, this gadget, PStyle, comes highly recommended from a friend for easier loo breaks on trail! Some folks love a “backcountry bidet”; I’ve not tried them myself but the one from Holy Hiker also comes recommended if that’s your thing.
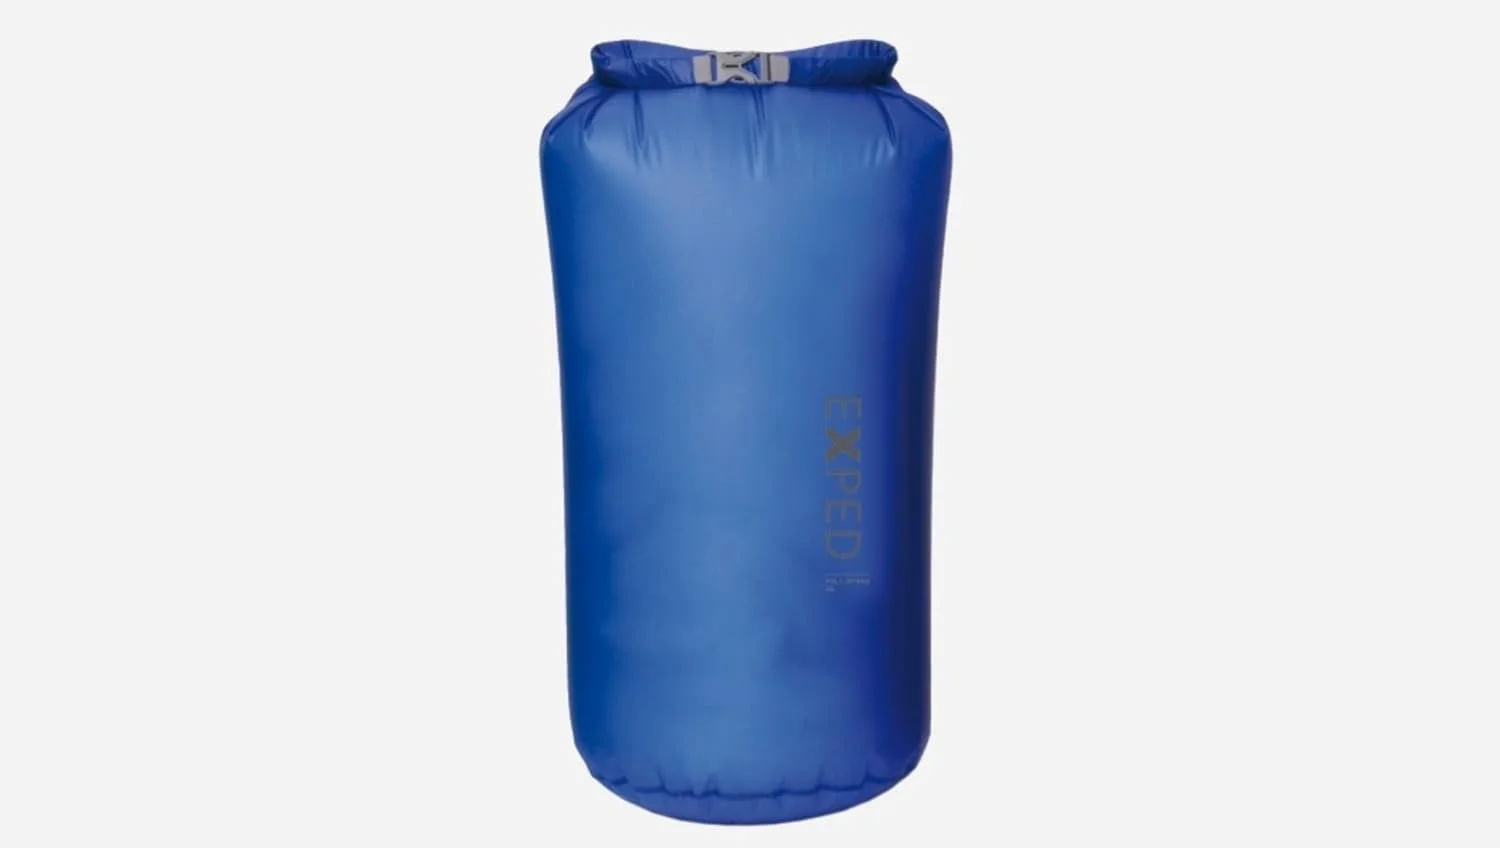
Exped UL Fold Drybag (large, 27g): I carry two of these smaller dry bags. One gets my electronics, cables, and a few select items like spare socks and a dry warm layer that I want to insure stays warm. The other bag gets all my food items. The reason for this is that the Kakwa doesn’t have heaps of separate compartments like a traditional bag so it’s necessary in order to stay somewhat organised - you can also really squeeze these bags down once they are full to make everything is packed away as compactly as possible.
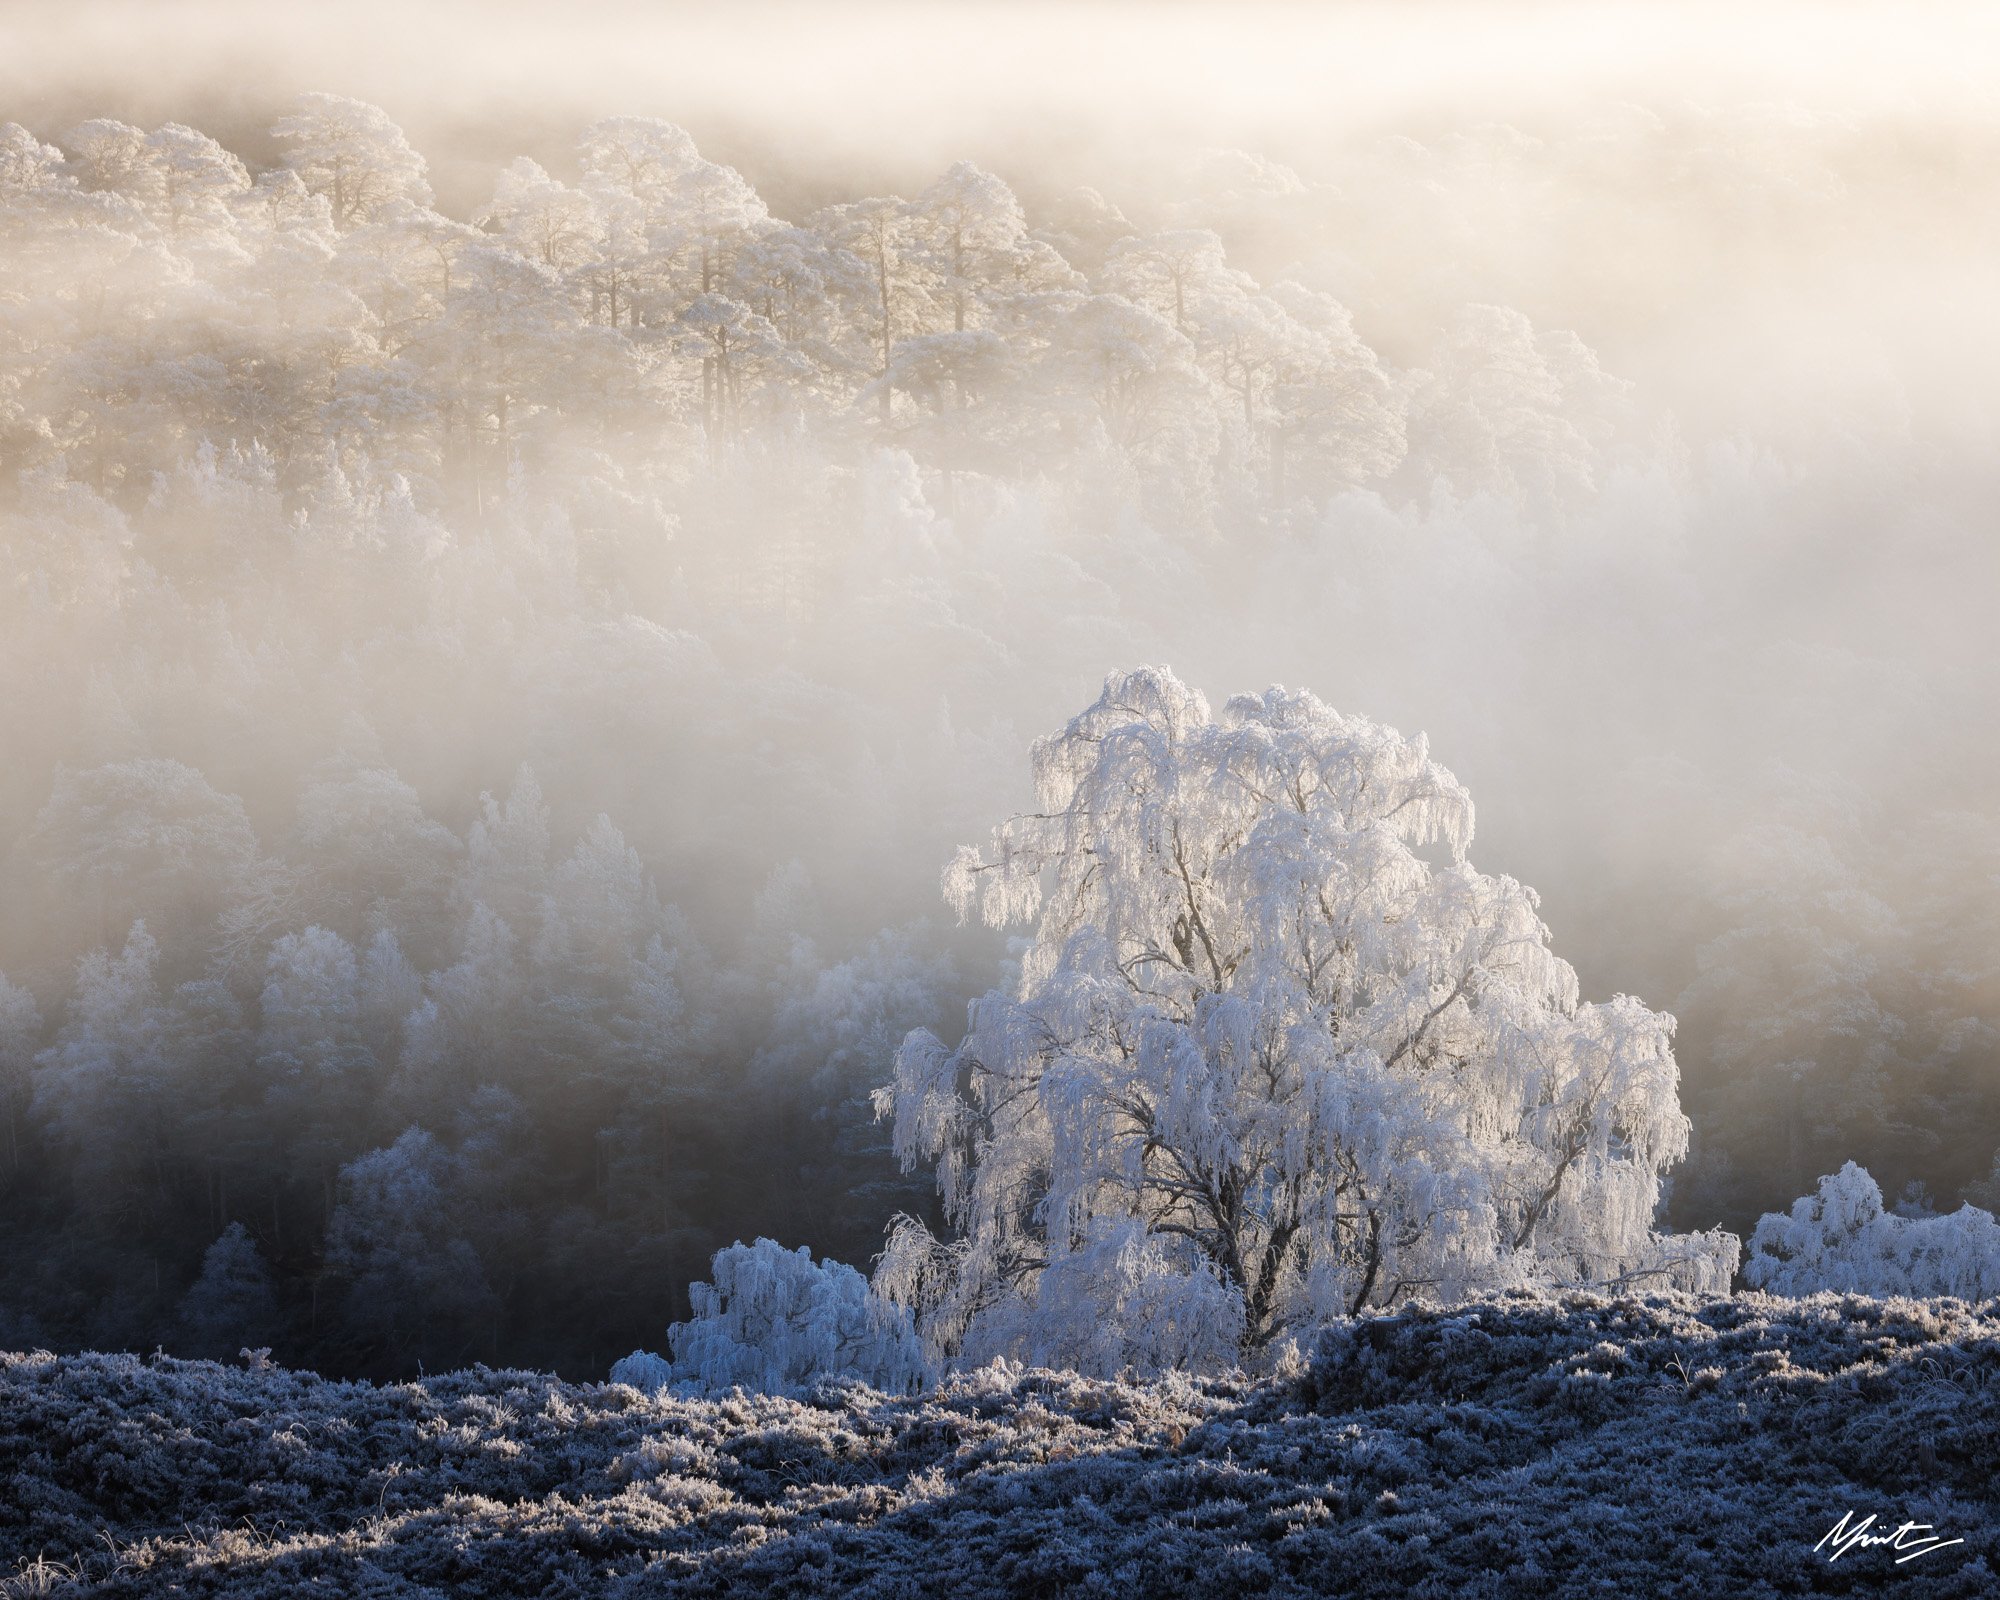
An image made with the Canon RF100-500mm lens exploring Scotland’s Ancient Caledonian Forest on a bitterly cold -9C morning.
Camera Gear Recommendations for Hiking and Camping
I left my camera recommendations until last because there are lots of good options when it comes to camera bodies & lenses, and many of my readers will already have cameras and lenses they are happy with. I have included some lightweight options for those starting from scratch, but what will definitely be of use to everyone is my insights on tripods, filters, electronics, & accessories below!
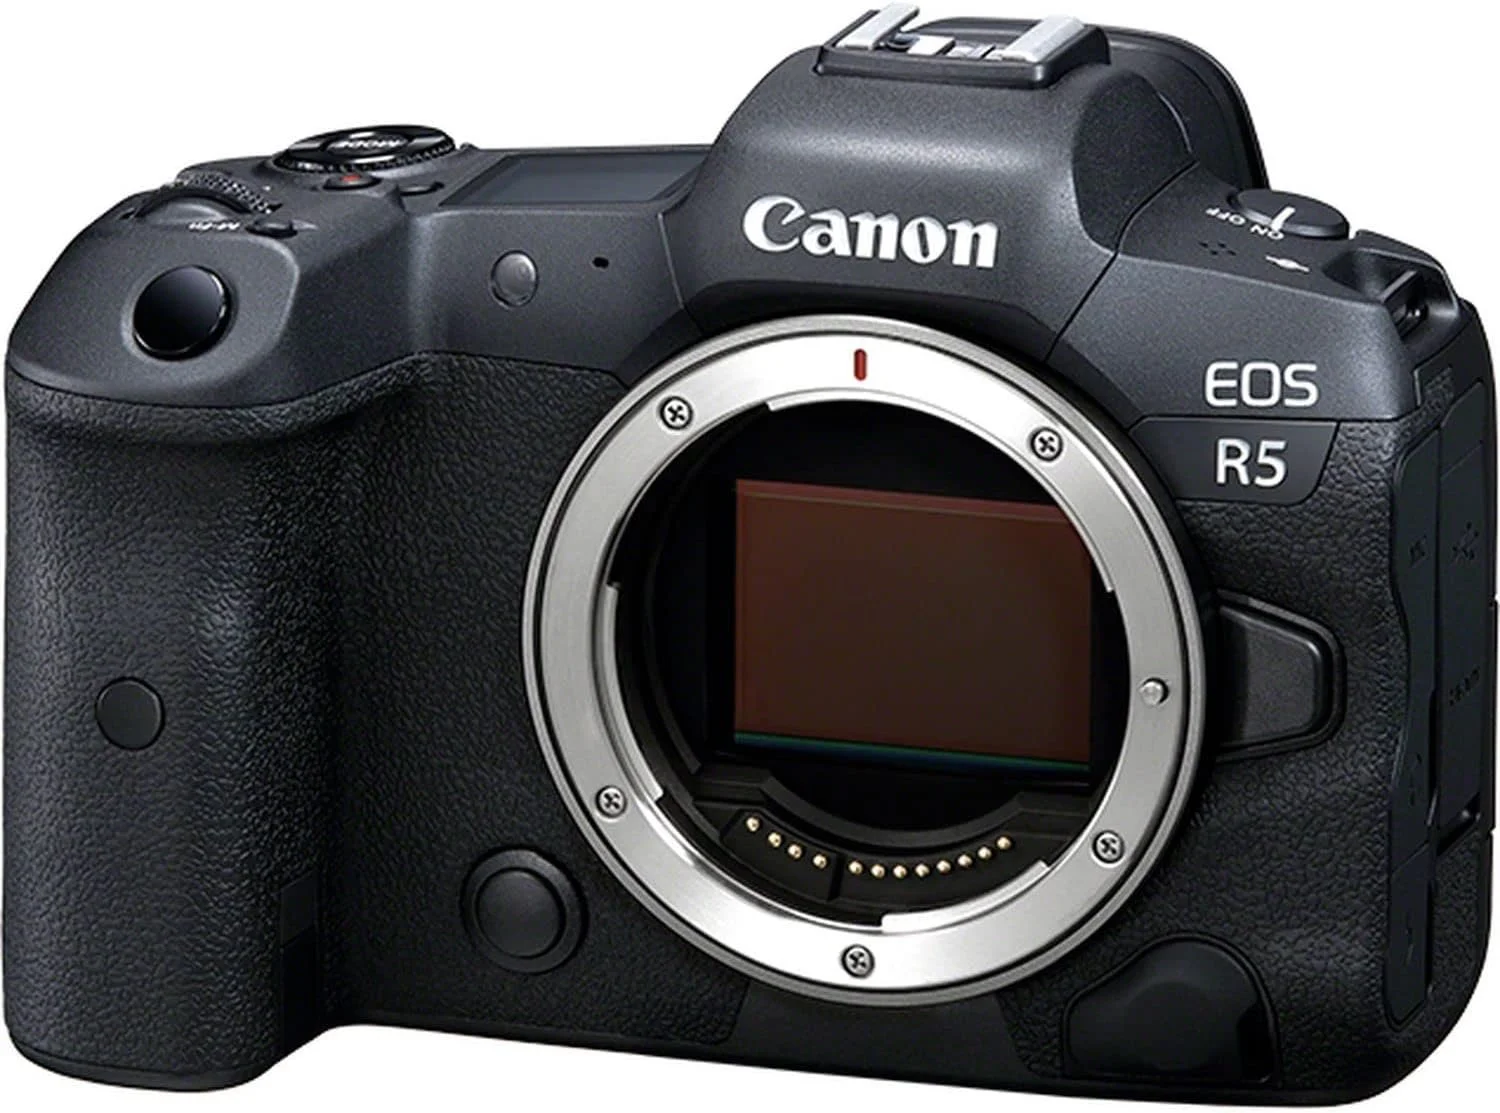
Main Camera: Canon R5 w/ Smallrig L-Bracket (865g): In terms of IQ, there are pretty much no wrong answers when it comes to modern mirrorless camera bodies. The real choice here, at least to me, was down to a couple of factors: 1) Ergonomics. Of all the camera bodies I tested (Nikon Z7ii, Sony A7RV, Fujifilm GFX 100s/XT-5), the Canon was by far the most comfortable to hold. I strongly recommend hands-on testing. That brings me onto 2) The lens ecosystem you are buying into. I loved Canon’s range of RF mount lenses; if you are wanting third party primes you might look to other brands as Canon has only just opened up the mount. The Nikon Z7ii is probably the best value camera on the market provided you only do landscape photography. And for everyone thinking that moving to micro-four thirds (not a valid option for IQ in my opinion) or an APSC camera will save huge amounts of weight or bulk, it’s not as clear cut as you might think. For example, comparing a Fuji XT-5 set up vs. a Nikon Z7ii/Sony A7RV/Canon R5 set up with equivalent 24-70mm & 100-400mm lenses, we see the Fuji come in at 2.6kg vs. the rest between 2.7kg - 2.9kg.
Lenses (& Alternatives): Canon RF 24-105mm (700g), RF100-500mm (1685g), RF14-35mm (544g): Typically, I will only carry one or two of these lenses. What really sold me on Canon was the lens ecosystem, and in particular the telephoto options including the RF70-200mm F4 (ridiculously small and compact at 695g) and the RF100-500mm, both of which I have owned and used. I have the specific requirement though that I visit Kruger National Park once a year to do wildlife photography, so the all-in-one option of the 100-500mm simultaneously being a landscape and wildlife lens was extremely appealing. One would need multiple lenses to achieve a similar focal range with other brands since I don’t find 400mm is long enough on the telephoto end for most South African wildlife applications (and certainly not small birds). As I mentioned above, Nikon probably represents the best value for money for a strictly landscape photographer. Nikon’s 24-120mm f/4 is more or less equivalent to Canon’s 24-105mm f/4, and both have excellent wide angle options in the RF14-35mm and 14-30mm Z. These are the no-compromise options, but both Canon, Nikon, and Sony offer excellent budget conscious superzooms if weight is of utmost importance: Canon’s RF24-240mm and RF100-400mm are both lighter weight options worth considering but lack weather sealing; Nikon’s 24-200mm and Sony’s 28-200mm from Tamron fall in the same category potentially saving up to 700g if you aren’t going to take a separate wide angle or telephoto lens for extra reach.
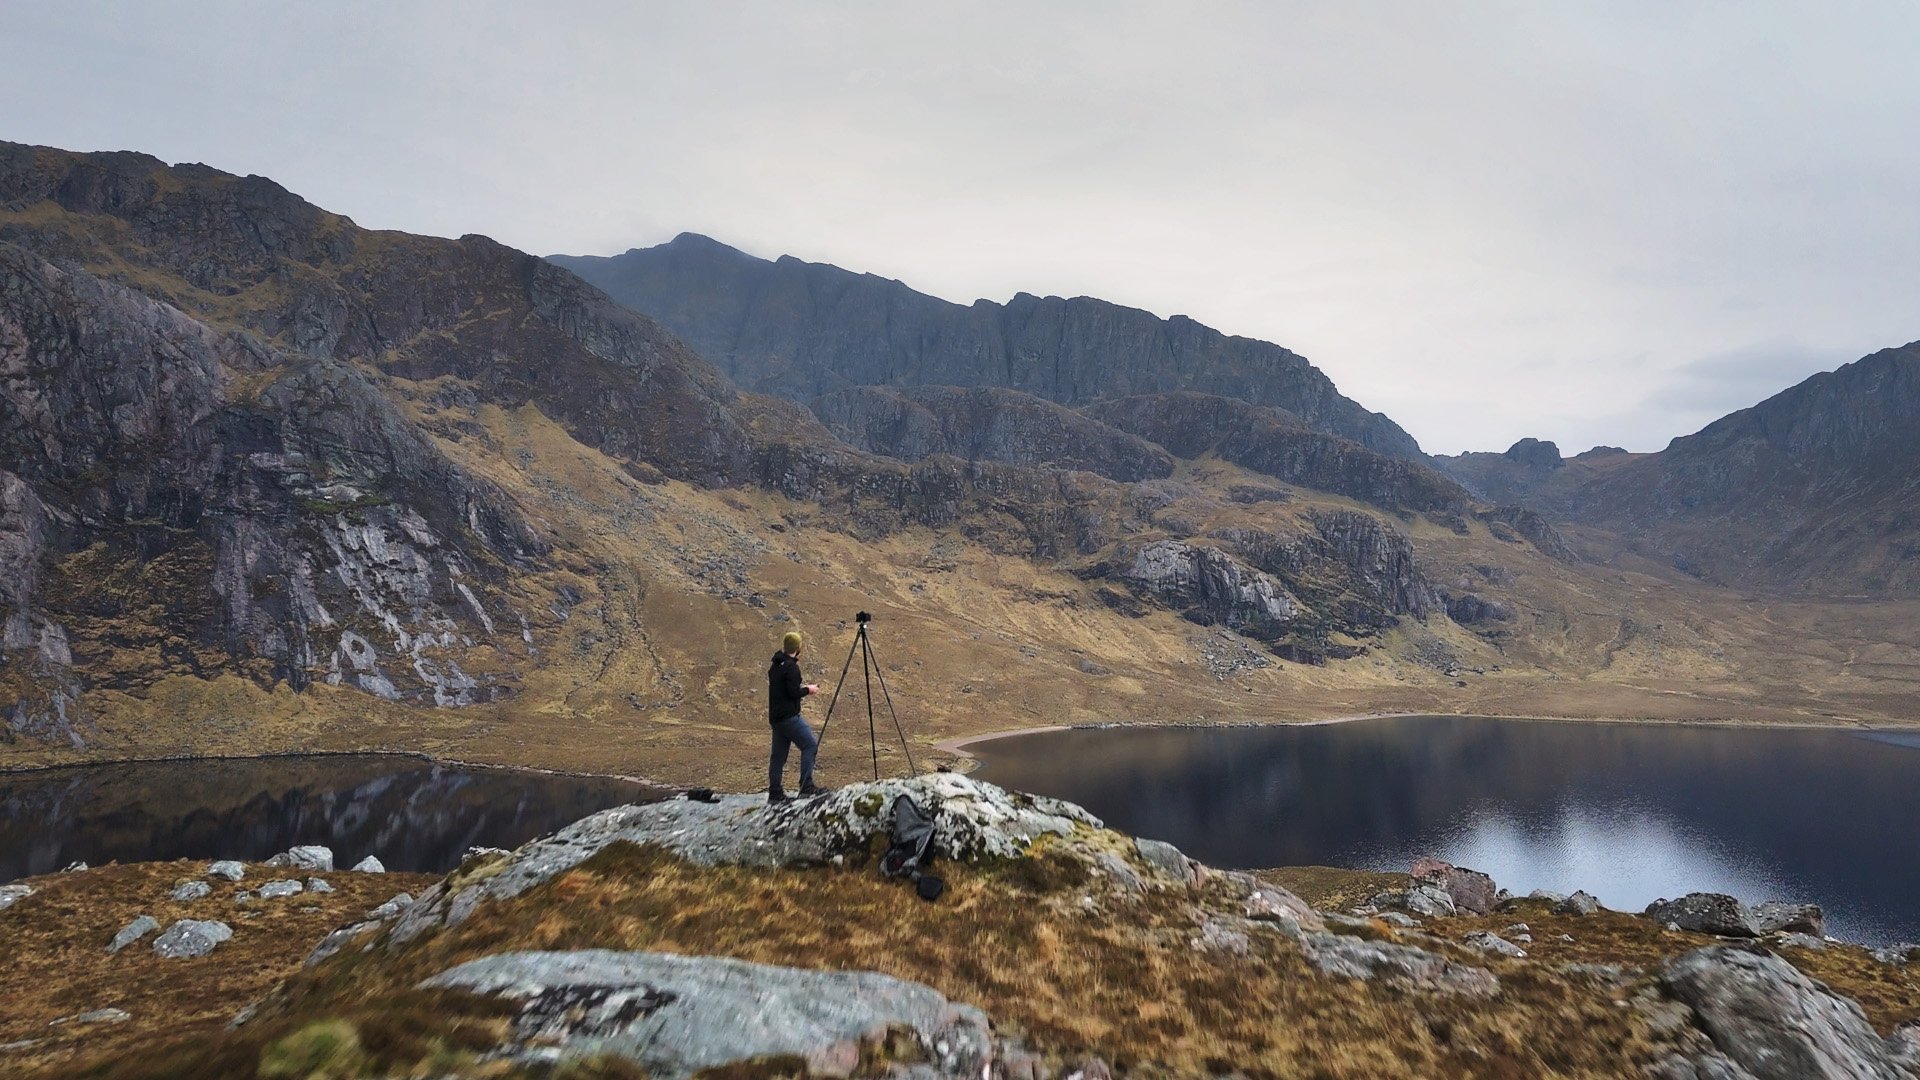
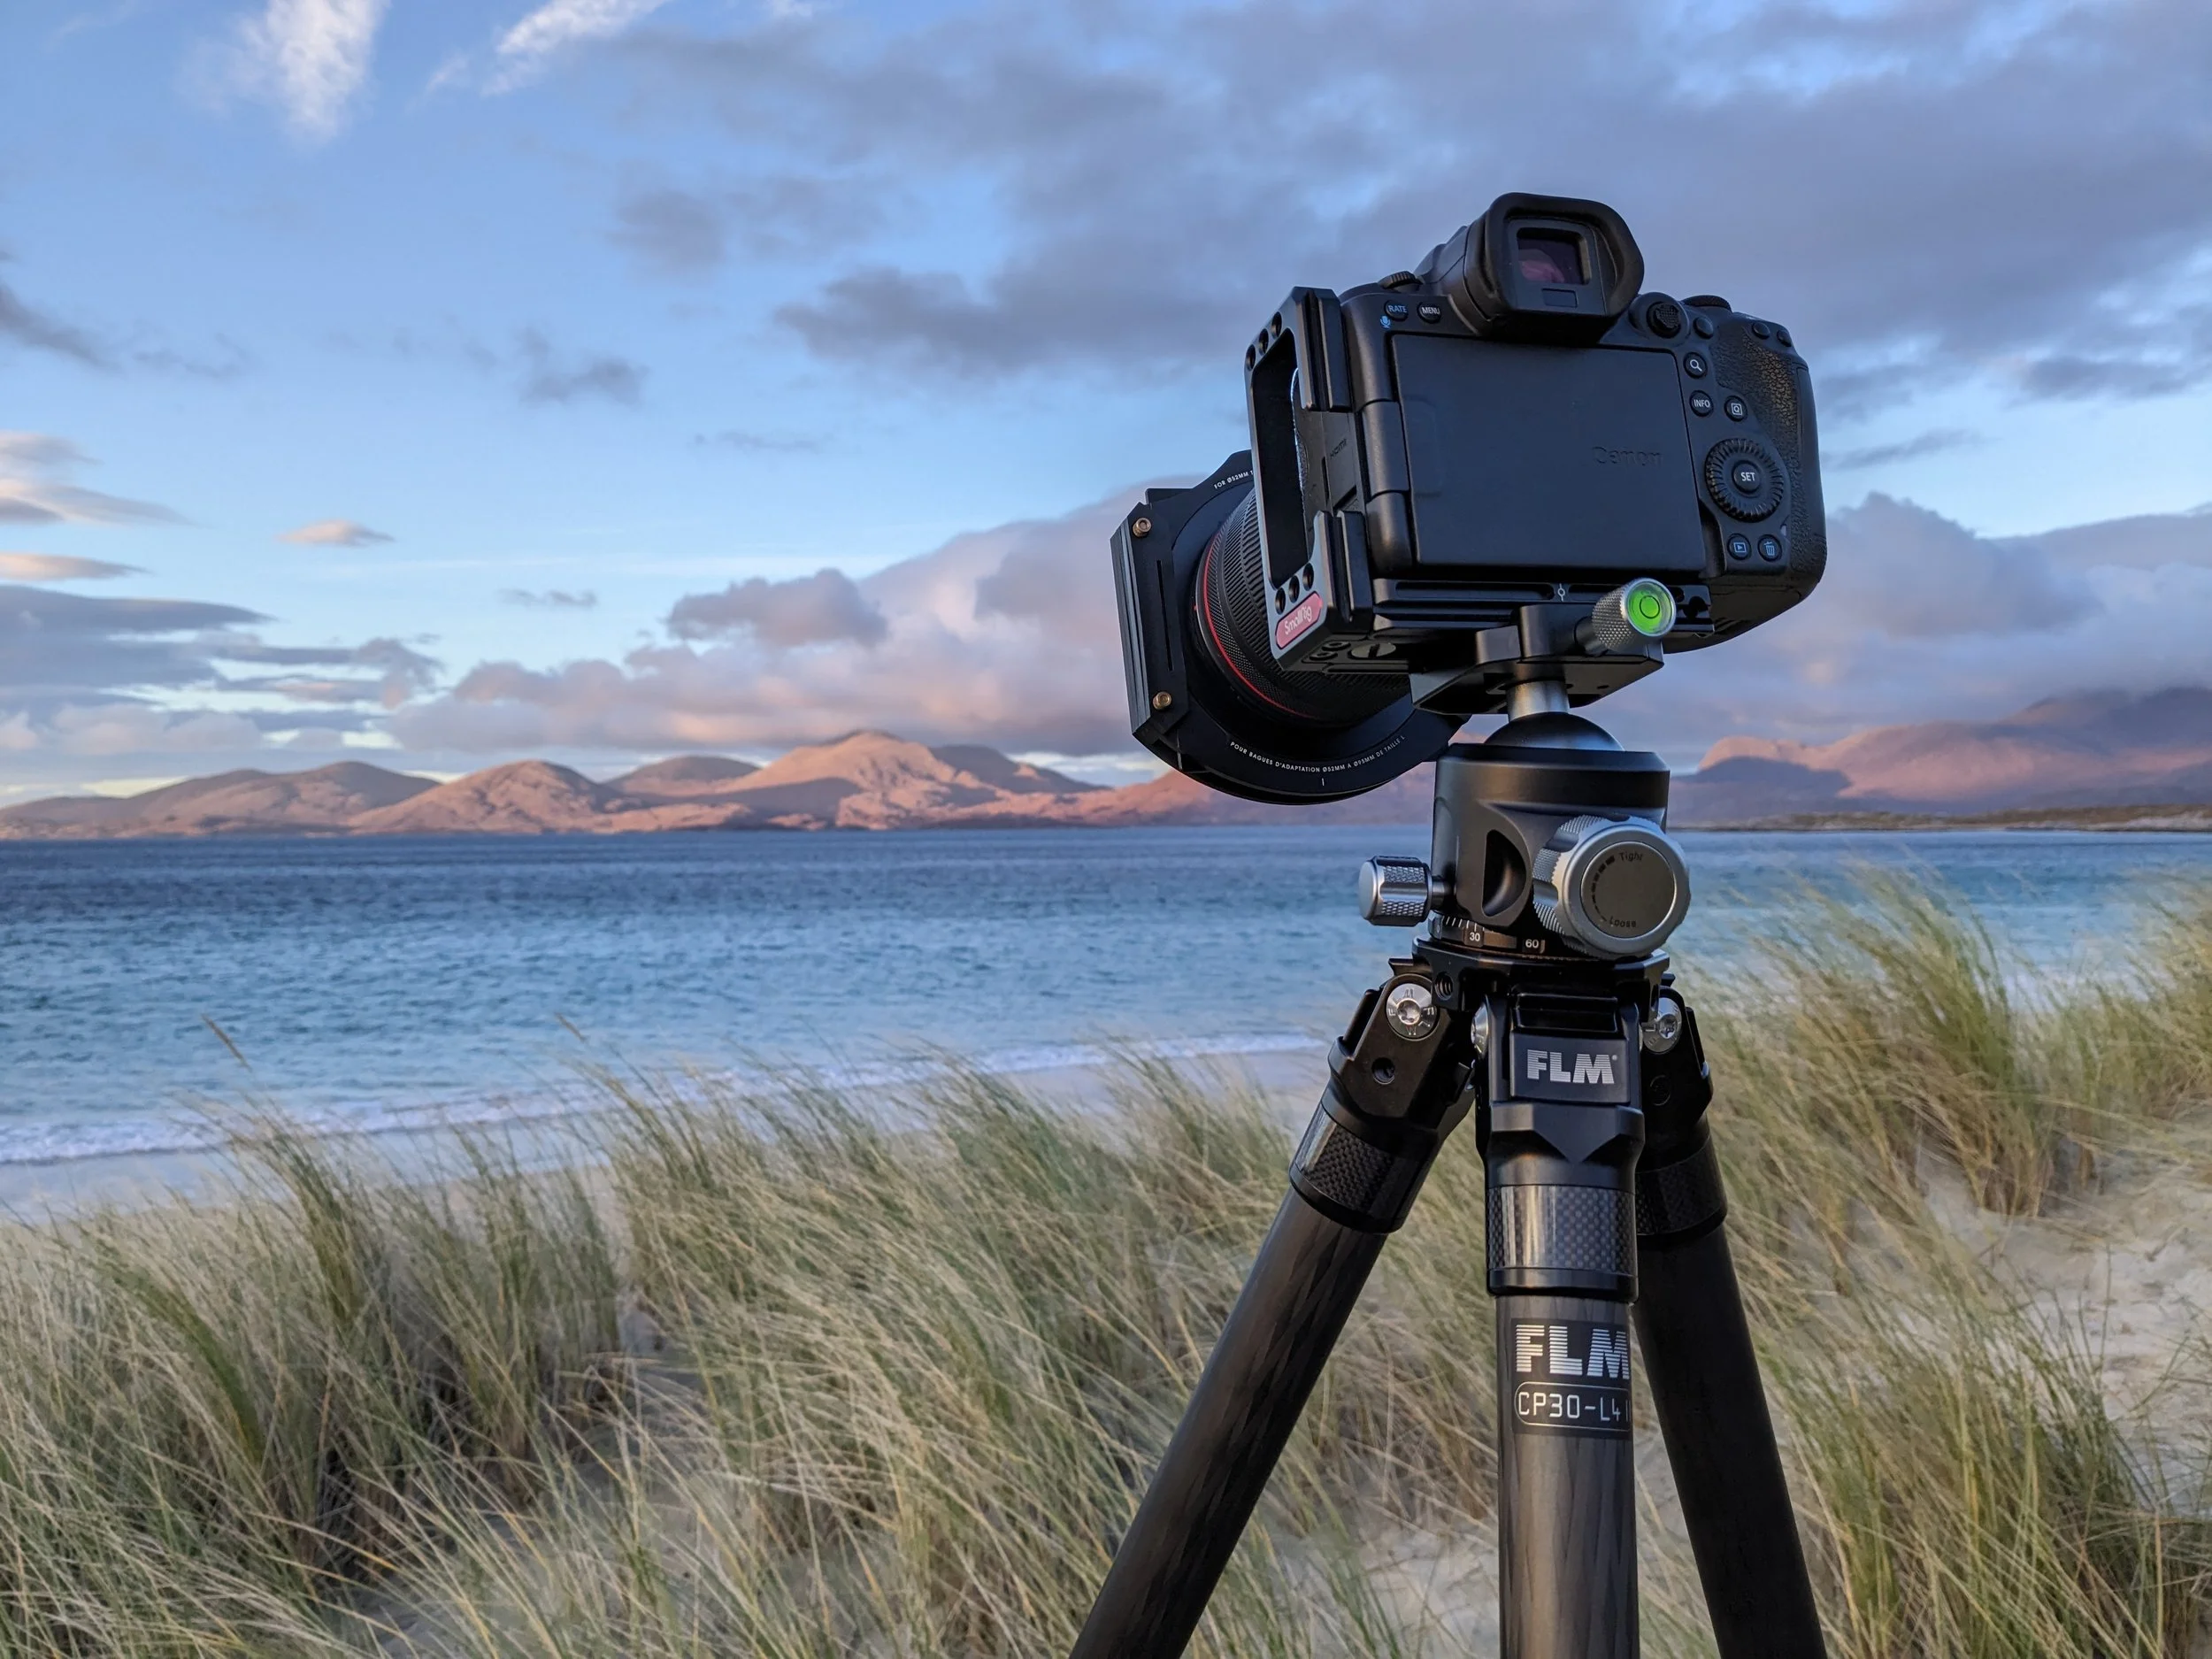
FLM CP30-L4 ii paired with the Innorel N44 on the Isle of Harris, Scotland.
Tripod: FLM CP30 L4 II + Innorel N44 Ballhead (1873g): The FLM CP30 L4II strikes the perfect balance of maximising height and stability for the lowest possible weight. I don’t think there is another tripod on the market that achieves anywhere near the same stats. The tripod is by no means “ultralight”, but I prefer the advantages of a good working height of just over 1.8m or 6ft. The FLM has also so far stood the test of time. An alternative lightweight option is the Leofoto LS-254C, (~1200g). It doesn’t have the same height or robustness, but saves a whopping 600g+. Both options have their applications! I would pair the Innorel N44 or N36 ballhead (see video review here) with either set of tripod legs; it is the best value ballhead on the market, providing almost the same rigidity of much more expensive options at a fraction of the price. I like it’s all metal construction and simplified adjustment knobs. (Use code “MURRAY” for 10% off your FLM order or “MURRAYLIVINGSTON” for 12% off your Leofoto order).
Tenba 20” Lens Wrap (92g): This was the best lightweight solution I found for protecting any additional lens I take with me hiking without the need for a traditional heavy and bulky packing cube. It is easy and quick to use for a fraction of the weight, size, and cost.
K&F Kentfaith Nano X Magnetic Filters (UK Link) (250g): (US/International Link) The best value for money magnetic filters on the market. I’ve used these for the last 10 months, testing them in -12C snow storms, 70mph winds on the Isle of Harris (sand. everywhere.), and up at 3000masl on the Drakensberg escarpment and they have held up great. Watch my initial review here or my 6 month long term review here for all the details. (Use code “MURRAY” for 15% off your Kentfaith order).
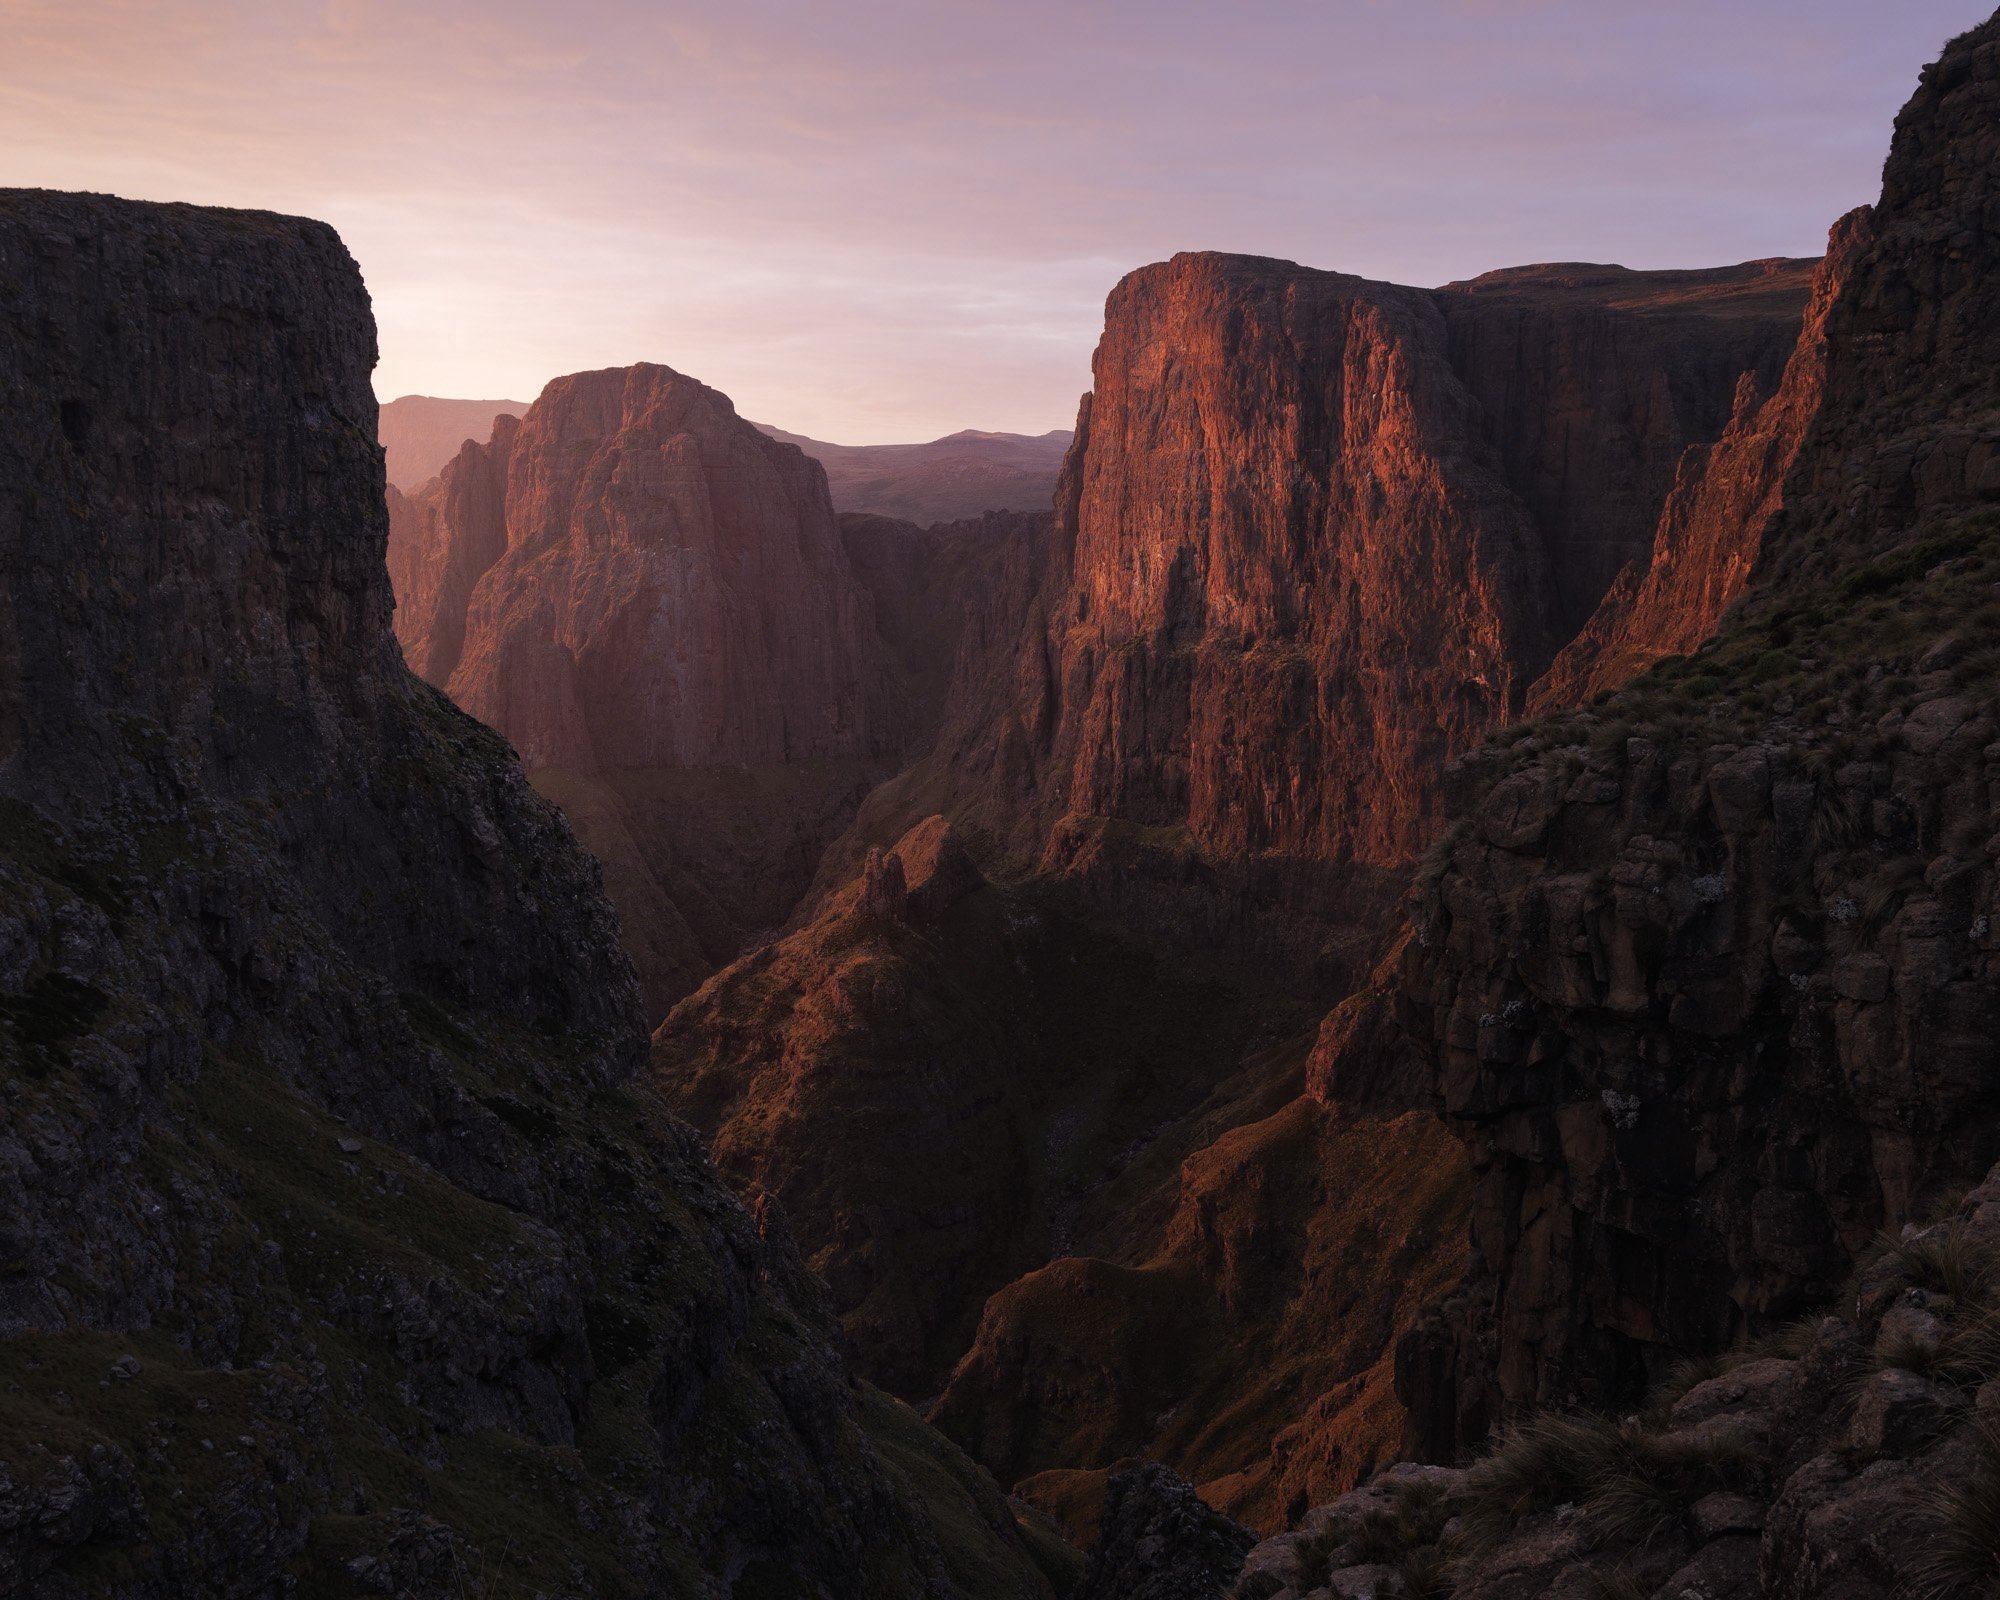
A photograph made with the Canon RF 24-105mm lens in the Drakensberg Mountains at nearly 3000masl. A great all-purpose lens and focal length range.
Spare Batteries, SD cards, lens wipes: I always carry a few spares of all these items. Name brand batteries are generally the way to go, although I have had good experience with 3rd party too. I have never run out of space on a photo trip running 192GB of storage (128+64). I carry spares purely for video work. Throw about 6 lens wipes in the front of your WNDRD Route carrier bag so you always have extras. If you get caught in a downpour you’ll go through them faster than you can dry them out again!
Fujifilm X-S10 (now X-S20) (635g): My go to video camera. It’s small, compact, lightweight, and films great looking 4K footage. I bought it in the vlogging kit with the 15-45 which is perfect for my needs as a cheap video lens. Colours out of the Fuji are exceptional. Bonus as it doubles as a capable 24MP backup stills camera.
Benro Slim Carbon Fibre Tripod (1020g): Tripod I typically use for video work. Small and lightweight, could be more stable. Has gotten the job done for over 4 years without a problem. Will probably look to upgrade at some stage to the Leofoto LS-254C (and maybe the “L” model only found in South Africa).
JOBY Gorilla Pod with Small Rig Ballhead (314g): For long multi day hikes I’ll swap out my video tripod for this tiny flexible tripod to save 700g. I then film using a combination of my main tripod or this small one on the ground (perspective is limited, but there are ways around this using changes in terrain or wrapping its legs around objects). A bit fiddly but can’t argue with the weight savings.
DJI Mini 4 Pro Fly More Combo (1371g): A necessary evil for film making and something I try to leave at home when possible! That being said, the Mini 4 Pro has been exceptional and I’ve enjoyed how small and compact it is. It even managed flying no problem at 3000masl in the Drakensberg. I don’t use this for still very often so I can’t really comment on that side of things, but it makes 48MP images (at a lower DPI than a proper camera) which look decent. If you want one specifically for photos, some of the higher end/heavier models have multiple lenses and better sensors I believe.
Inui 20000aH battery (350g): A solid external battery that has served me well. I use a 20000mah over a slimmer 10000mah because I have a video camera which drains fast and often am using my phone for navigation (OS Maps), so the extra juice is needed. I try to strike a balance between a battery pack like this one and carrying spare batteries. This offers the advantage that it can charge any device.
Garmin In Reach Mini (113g): A must have for solo expeditions in my opinion. Great as a communications device (preset messages have been awesome) and provides crucial SOS support in case of an emergency in the mountains. I don’t use my version 1 as a GPS but the version 2 has slightly upgraded features in that department. I would still prefer any number of phone navigation apps (OS Maps in the UK is great).
Nitecore NU33 Headlamp (95g): This is a recent upgrade from a lower powered Black Diamond Spot (which I also enjoyed) but the increased power of the NU33 is awesome. I love the different power levels and spread settings and at under 100g with a rechargeable battery I think it’s an incredible option.
A note on clothing: I won’t go into product recommendations here simply because different climates dictate a huge variety of needs. A really good rain jacket is a necessity in the UK, while a well ventilated long sleeve top and a wide brim hat is more important in the sun-baked African landscape. Universally though, I would recommend spending the money for a few merino garments like underwear, especially on multi day hikes. They perform much better all around. Don’t discount the need for a good pair of boots either! Again though, that depends a lot on the climate and terrain…
Weigh. Everything.
Okay to wrap things up, how do we accurately assess our pack weight? Head over to https://lighterpack.com/ and make an account - this will be where you record all your gear. It also serves as a great packing list for trips! You may already have one, otherwise pick yourself up a cheap set of kitchen scales and weigh every last piece of kit you are planning to hike with. No seriously, even the ziplock bags and stuff sacks! This is the only way to get an accurate assessment. Over your target weight? Well now you can start to think about whether or not you need to take that camp chair or not. Or it might be a case of upgrading your backpack from a 2.5kg Osprey to a 1kg Durston Kakwa. Start with the big ticket items as they will be where you save the most grams/£. However, it’s important to remember that the final weight isn’t everything. Test the pack out and see if it’s comfortable and manageable - you might not need to save that 250g to hit your target and could save a few bucks.
Cost:Experience Ratio
If you already have a backpacking set up, don’t go buy everything on this list. In fact, it’s more than likely that what you already have will serve you perfectly well. You can get 5kg stronger or lose a few lbs a lot easier and cheaper than achieving the same result by purchasing gear. This guide is intended to help you when you run into a problem that needs to be solved (discomfort from heavy backpack loads, for instance), to help optimise your gear if you have the budget (tired of waiting 10 minutes for water to boil), or to help those starting from scratch. The most important metric is the value:experience ratio: has the money you spent provided you with enough value? In other words, did you have an awesome experience you couldn’t have had otherwise? Backpacking trips and spending time in nature is of the utmost importance to me, so having a comfortable night’s sleep and being able to carry everything I need in the most efficient manner is worth the money. Your answer may be different!
Do you think there’s anything I’ve missed? What gear do you use? Let me know!
Remember to follow Leave No Trace principles and treat nature with respect. Leave it better than you found it.
